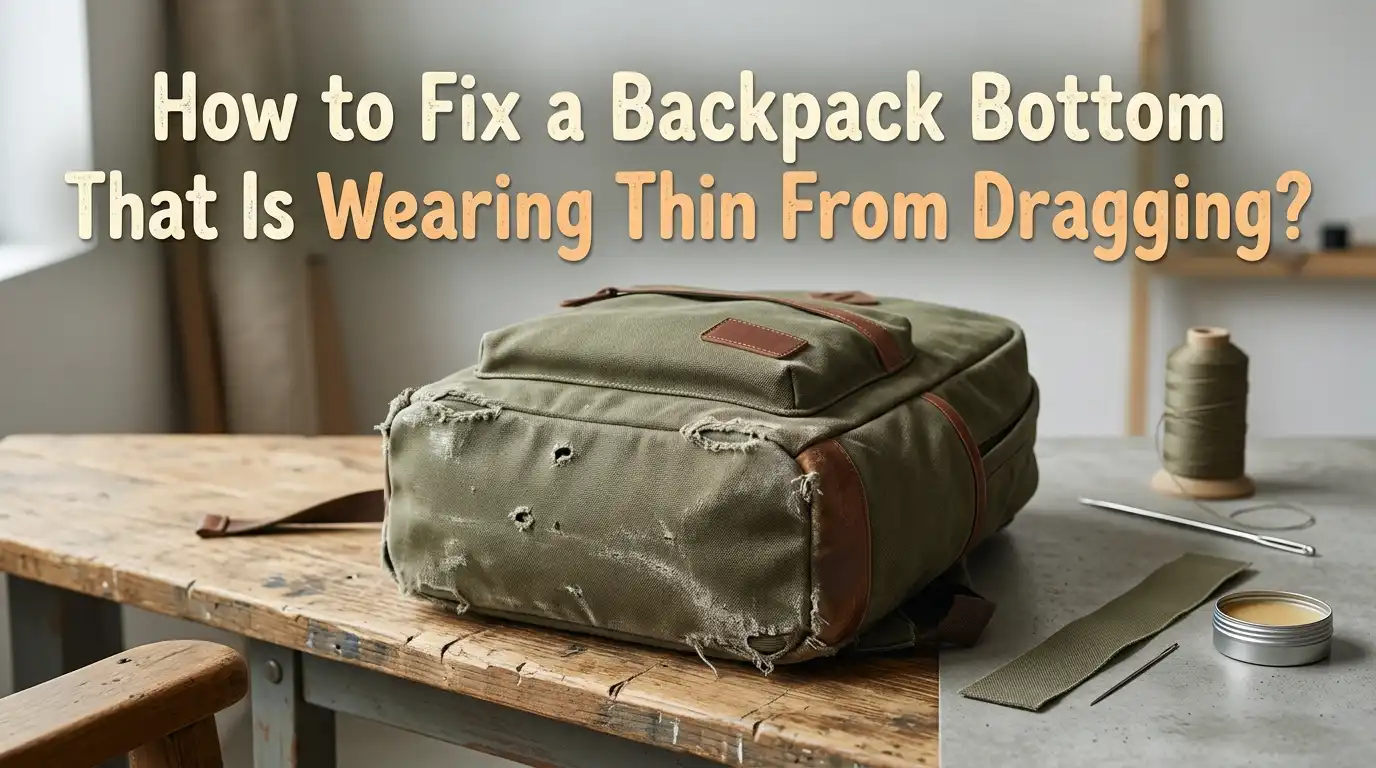
How to Fix a Backpack Bottom That Is Wearing Thin From Dragging?
Your favorite backpack has been with you through thick and thin. School runs, weekend hikes, daily commutes, and long trips have all left their mark.
But now you notice the bottom is wearing thin. The fabric looks faded, frayed, and paper thin from constant dragging on rough surfaces. You start wondering if it is time to throw it away.
Hold on. Do not toss that backpack just yet. A worn bottom does not mean your bag is beyond saving. In fact, this is one of the most common and fixable problems any backpack owner can face.
Key Takeaways
- Assess the damage first. Before choosing a repair method, flip your backpack inside out and check how thin the bottom fabric really is. A small worn spot needs a different fix than a bottom that is almost see through.
- Fabric glue and patches work great for mild wear. If the bottom is thin but not yet torn, gluing a layer of strong fabric on the inside is a fast and effective solution. Cordura nylon and canvas are both excellent choices.
- Sewing offers the strongest long term repair. Stitching a reinforcement panel to the bottom gives you a fix that lasts for years. Use heavy duty nylon thread and a strong needle for the best results.
- Shoe Goo and seam sealants handle small areas. These adhesive products can coat thin spots and add a protective layer. They work well for quick fixes or as an extra step after patching.
- Prevention matters just as much as repair. Adjusting your backpack straps properly, avoiding dragging, and placing the pack on clean surfaces all help prevent the bottom from wearing thin again.
- A professional repair shop can help with severe damage. If the bottom panel has large holes or the seams are failing, a cobbler or gear repair service can do a full panel replacement at a reasonable cost.
Why Does the Bottom of a Backpack Wear Thin
The bottom panel of a backpack is its most vulnerable part. Every time you put the bag down on the floor, the ground, or a chair, that panel absorbs friction. Hard surfaces like concrete and asphalt are the worst offenders. They act like sandpaper against the fabric.
Dragging makes the problem much worse. If your backpack hangs low on your body, the bottom may scrape the ground as you walk. Kids often drag their bags across schoolyard pavement. Travelers slide their packs across airport floors. Over time, this friction breaks down the fabric fibers and makes the material paper thin.
Overloading your pack also contributes. A heavy backpack creates more pressure on the bottom panel, increasing the contact force against surfaces. The combination of weight, friction, and time creates the perfect storm for a worn out bottom.
How to Check the Extent of the Damage
Before you grab a needle or glue, take a few minutes to inspect your backpack carefully. Turn the bag inside out so you can see the interior surface of the bottom panel clearly. Hold it up to a light source.
If light shines through the fabric, the material is dangerously thin. Run your fingers across the surface and feel for areas that are significantly thinner than the rest. Check the seams along the bottom edges too. Sometimes the stitching weakens before the fabric does.
Look for frayed threads, small pinholes, or areas where the fabric feels soft and papery. Make a mental note of how large the damaged area is. A small worn patch calls for a simple patch job. A bottom that is uniformly thin across the entire panel needs a full reinforcement. Understanding the damage helps you pick the right fix.
Quick Emergency Fixes for a Thin Backpack Bottom
Sometimes you need a fast solution right now. Maybe you discovered the problem the night before a trip, or you are already out and about. Duct tape is the classic emergency fix and it actually works quite well for short term protection.
Apply a layer of duct tape to the inside of the backpack bottom. Overlap each strip by about half an inch so there are no gaps. This creates a barrier that prevents the thin fabric from tearing further. For the outside, clear packing tape can add friction resistance without looking too obvious.
Another fast option is applying Shoe Goo or a similar adhesive sealant directly to the thin spots on the outside. Spread a thin, even layer and let it dry for 24 hours. This creates a rubbery, abrasion resistant coating. It is not pretty, but it stops the wear immediately.
Pros: These fixes are cheap, fast, and require no special skills. Cons: They are temporary. Tape peels off after a few weeks of use, and adhesive coatings can crack or peel over time.
How to Fix a Thin Bottom With Fabric Glue and Patches
This method gives you a clean, lasting repair without any sewing. You need a piece of thick, durable fabric slightly larger than the bottom of the backpack. Cordura nylon in 500D or 1000D weight is the best choice. Canvas and heavy denim also work well.
Start by cleaning the inside bottom of your backpack thoroughly. Trim away any loose threads or flaking material. Apply a generous layer of washable fabric glue across the entire inner bottom surface. Press the reinforcement fabric firmly onto the glue.
If your backpack has raised edges at the bottom, apply glue to those edges separately. Fold the fabric up and over them, gathering any extra material at the corners. Use binder clips or clothespins to hold everything tight while the glue dries for at least 24 hours.
Once dry, trim the excess fabric around the edges with sharp scissors. Apply a final thin line of glue along the cut edges to prevent fraying. The repair will be invisible from the outside.
Pros: No sewing skills needed, invisible from outside, and very effective. Cons: The glue bond is not as strong as stitching and may weaken after repeated machine washing.
How to Sew a Reinforcement Panel on the Bottom
Sewing is the gold standard for backpack bottom repair. It creates the strongest, most durable fix. You will need a heavy duty needle, nylon or upholstery thread, a thimble, scissors, and a piece of thick fabric for the reinforcement patch.
Cut your patch fabric about one inch larger than the bottom panel on all sides. Pin it in place on the inside of the backpack bottom. Use a backstitch or running stitch to sew the patch along its edges. A backstitch is stronger because it doubles the thread at each stitch point.
Sew slowly and carefully. Cordura and other heavy fabrics are tough to push a needle through. A thimble protects your finger, and pliers can help pull the needle through thick layers. Sew at least two parallel rows of stitching along each edge for extra strength.
For the thread choice, pick nylon thread that is not stronger than your fabric. Thread that is too strong can actually cut through the material over time like a wire through cheese. Thinner thread with more stitches is always better than thick thread with fewer stitches.
Pros: The strongest and most permanent repair method available. Cons: Requires basic sewing skills, takes more time, and can be physically tiring with heavy fabric.
Using Iron On Patches for Backpack Repair
Iron on patches offer a middle ground between gluing and sewing. They use heat activated adhesive that bonds to fabric when pressed with a hot iron. You can find nylon repair patches and iron on fabric patches at most craft stores.
Clean the bottom surface of the backpack and make sure it is completely dry. Cut the patch to fit the damaged area with about half an inch of overlap on each side. Place it adhesive side down on the inside of the backpack bottom. Press a hot iron firmly on top for the time specified on the patch packaging, usually about 30 to 60 seconds.
Let the patch cool completely before testing the bond. For extra security, many repair experts recommend sewing around the edges of the iron on patch after applying it. This combination of adhesive and thread gives you an extremely durable fix.
Be careful with synthetic fabrics like nylon and polyester. Too much heat can melt or damage these materials. Use a pressing cloth between the iron and the backpack fabric to protect it. Test the iron temperature on a hidden area first.
Pros: Faster than sewing, creates a strong bond, and looks neat. Cons: Not all backpack fabrics handle heat well. The adhesive can weaken over time with heavy use and washing.
Applying Seam Sealant or Shoe Goo for Extra Protection
Seam sealant and Shoe Goo are excellent products for adding a protective coating to a repaired or thin backpack bottom. They create a flexible, waterproof, abrasion resistant layer that shields the fabric from ground contact.
After completing any patch or reinforcement repair, apply a thin coat of seam sealant or Shoe Goo to the outside of the backpack bottom. Spread it evenly with an old credit card or popsicle stick. Let the first coat dry completely, which usually takes about 24 hours. Then apply a second coat if the bottom will see heavy use.
One useful trick from experienced hikers is to dust the dried sealant with talcum powder or even garden dirt. This stops the coating from sticking to itself when you fold or store the backpack. Store any partially used tubes of sealant in the freezer to keep them fresh for over a year.
You can also use this coating method as a standalone fix for mildly worn bottoms. If the fabric is thin but not yet torn, a couple of coats of Shoe Goo can extend its life significantly without any patching.
Pros: Adds waterproofing and abrasion resistance, easy to apply, and inexpensive. Cons: Can look messy, takes a long time to dry, and needs reapplication after heavy use.
Full Bottom Panel Replacement for Severe Damage
If the entire bottom of your backpack is worn through or riddled with holes, a full panel replacement is the best option. This is a bigger project, but the result is essentially a brand new backpack bottom.
You will need to carefully remove the old bottom panel by cutting the stitching with a seam ripper. Go slowly to avoid cutting the side panels of the backpack. Save the old panel to use as a pattern for the new one.
Cut your new panel from 1000D Cordura or a similarly tough material. Make it slightly larger than the original so it overlaps the side walls by one to two inches. This overlap creates a bathtub shape that is much stronger than a flat bottom seam.
Pin the new panel in place and sew it to the pack walls. Try to stitch along a slightly different line than the original seam. Sewing over old needle holes can weaken the surrounding fabric. Seal the finished seam with seam sealant for waterproofing.
Pros: Gives you a stronger bottom than the original and extends the backpack’s life by years. Cons: Requires solid sewing skills and tools. The project takes several hours. Getting the fit right can be tricky.
Choosing the Right Fabric for Your Repair
The fabric you use for your repair matters a lot. The wrong material can fail quickly or cause new problems. Here is a breakdown of the best options.
Cordura nylon is the top choice for backpack bottom repair. It comes in different weights, measured in denier. 500D Cordura works for everyday backpacks. 1000D Cordura is the best for packs that see heavy outdoor use. Make sure to choose waterproof Cordura with a PU coating on one side.
Canvas is another strong option, especially for canvas backpacks. It is easy to find, affordable, and simple to sew. However, it is heavier than nylon and absorbs water unless treated with a waterproofing spray.
Heavy denim works well for casual or school backpacks. It is cheap and widely available, since you can cut it from old jeans. It handles friction well but is not waterproof.
Vinyl or PVC coated fabric is extremely durable and waterproof. Climbing and canyoneering packs often use this material for their bottoms. It is harder to sew but offers the best protection against abrasion and moisture.
How to Prevent Your Backpack Bottom From Wearing Thin Again
Fixing the problem is only half the battle. Preventing future wear is just as important. A few simple habit changes can make your repaired bottom last much longer.
Adjust your backpack straps properly. A pack that sits too low on your body will drag on the ground when you sit or lean over. Tighten the shoulder straps so the bottom of the pack sits at or above your waist. Use the hip belt and sternum strap if your pack has them.
Stop dragging your backpack. Pick it up instead of pulling it across floors, sidewalks, or pavement. This single habit change makes the biggest difference. Teach kids to lift their bags instead of dragging them across the schoolyard.
Avoid setting your pack down on rough surfaces like gravel, concrete, or wet ground. Use a bench, hook, or your lap instead. If you must set it on the ground, try to find grass or a smooth, clean surface.
Do not overload your backpack. Excess weight increases the pressure on the bottom panel and accelerates wear. Use the right size pack for what you need to carry.
When to Take Your Backpack to a Professional
Some repairs are beyond a DIY fix. If the seams around the bottom are coming apart, or if the side panels near the bottom are also damaged, a professional repair makes more sense than a home fix.
Cobblers can handle most backpack repairs. They have industrial sewing machines that can punch through multiple layers of Cordura and nylon. Many cobblers charge a reasonable fee for basic patching and panel work.
Gear repair services are another option, especially for high end hiking and outdoor packs. Some backpack manufacturers offer their own repair programs. It is worth checking the manufacturer’s website or calling their customer service before paying a third party.
A professional repair typically costs between $20 and $60, depending on the extent of the damage. Compare that to the cost of replacing the entire backpack. If your pack is high quality and still fits well, a professional repair is almost always worth the investment.
Is It Worth Fixing or Should You Replace the Backpack
This is the question everyone asks eventually. The answer depends on a few key factors. Consider the original quality and cost of the backpack. A $150 hiking pack with a worn bottom is absolutely worth repairing. A $15 discount store bag might not be worth the effort.
Think about the overall condition. If the bottom is the only problem and the rest of the pack is solid, a repair makes total sense. But if the zippers are failing, the straps are fraying, and the lining is peeling apart, you are better off replacing the entire bag.
Sentimental value counts too. Some backpacks carry memories from incredible trips and adventures. Repairing them preserves those memories and keeps a trusted piece of gear in service.
From an environmental standpoint, repairing is almost always the better choice. Manufacturing a new backpack requires raw materials, energy, and shipping. Fixing the one you already own reduces waste and keeps useful gear out of landfills. A simple repair can give a good backpack several more years of life.
Tips for Making Your Repair Last Longer
After you complete your repair, a few extra steps can help it hold up over time. Apply a waterproofing spray to the entire bottom of the backpack, including the patch or new panel. This protects both the fabric and the adhesive from moisture damage.
Check your repair every few months. Look for any edges that are lifting, stitches that are loosening, or areas where the adhesive is cracking. Catching small issues early prevents them from turning into big problems.
Store your backpack in a cool, dry place when you are not using it. Empty it completely and let it air out. Do not cram it into a tight space where the bottom is pressed flat against hard surfaces for long periods.
If you used Shoe Goo or seam sealant, reapply a thin maintenance coat once or twice a year if the backpack sees daily use. This keeps the protective layer fresh and effective. A little ongoing care goes a long way.
Frequently Asked Questions
Can I use duct tape to permanently fix a worn backpack bottom?
Duct tape works as a quick emergency fix, but it is not a permanent solution. The adhesive weakens over time, especially with moisture and friction. Use duct tape to buy yourself time until you can do a proper repair with fabric patches or sewing.
What is the best glue for repairing a backpack bottom?
Washable fabric glue is ideal for attaching reinforcement patches inside a backpack. For coating the outside, Shoe Goo and seam sealant products work well. They create a flexible, abrasion resistant layer that protects the fabric from further wear.
Can I machine wash my backpack after a glue repair?
It depends on the glue. If you used washable fabric glue, the repair should survive gentle machine washing. However, frequent washing weakens adhesive bonds over time. Hand washing is a safer choice for repaired backpacks. Always air dry instead of using a dryer.
How much does a professional backpack bottom repair cost?
Most cobblers and gear repair shops charge between $20 and $60 for a bottom panel repair or replacement. The cost depends on the size of the repair, the materials needed, and your location. Some outdoor brands also offer warranty repair services.
What fabric weight should I use for a backpack bottom patch?
For everyday backpacks, 500D Cordura nylon provides excellent durability. For hiking or outdoor packs that see rough terrain, 1000D Cordura is the better choice. Match the patch material to the type of use your backpack will face.
How do I stop my child’s backpack from dragging on the ground?
Adjust the shoulder straps so the backpack sits higher on your child’s back. The bottom of the pack should rest at or above waist level. Choose a pack that fits your child’s body size. Teach them to carry the pack by the handle or on their shoulders rather than dragging it.

Hi, I’m Luna Beck — the founder and voice behind Urban Pack Vault. I’m passionate about helping people find bags that perfectly match their lifestyle. From backpacks to travel luggage, I research, review, and recommend so you never have to second-guess your next purchase.