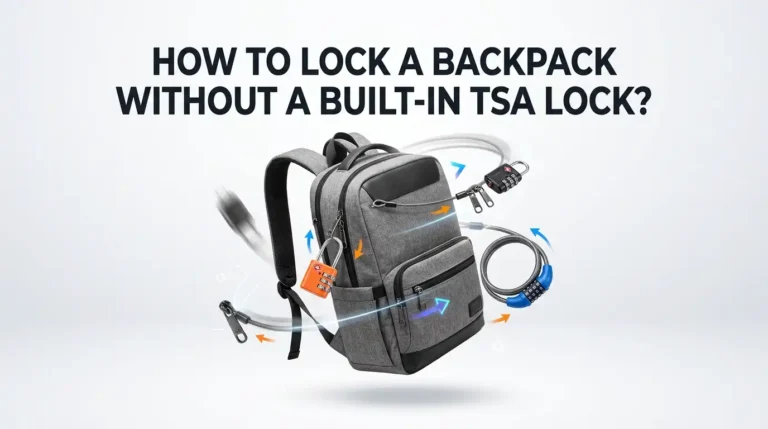
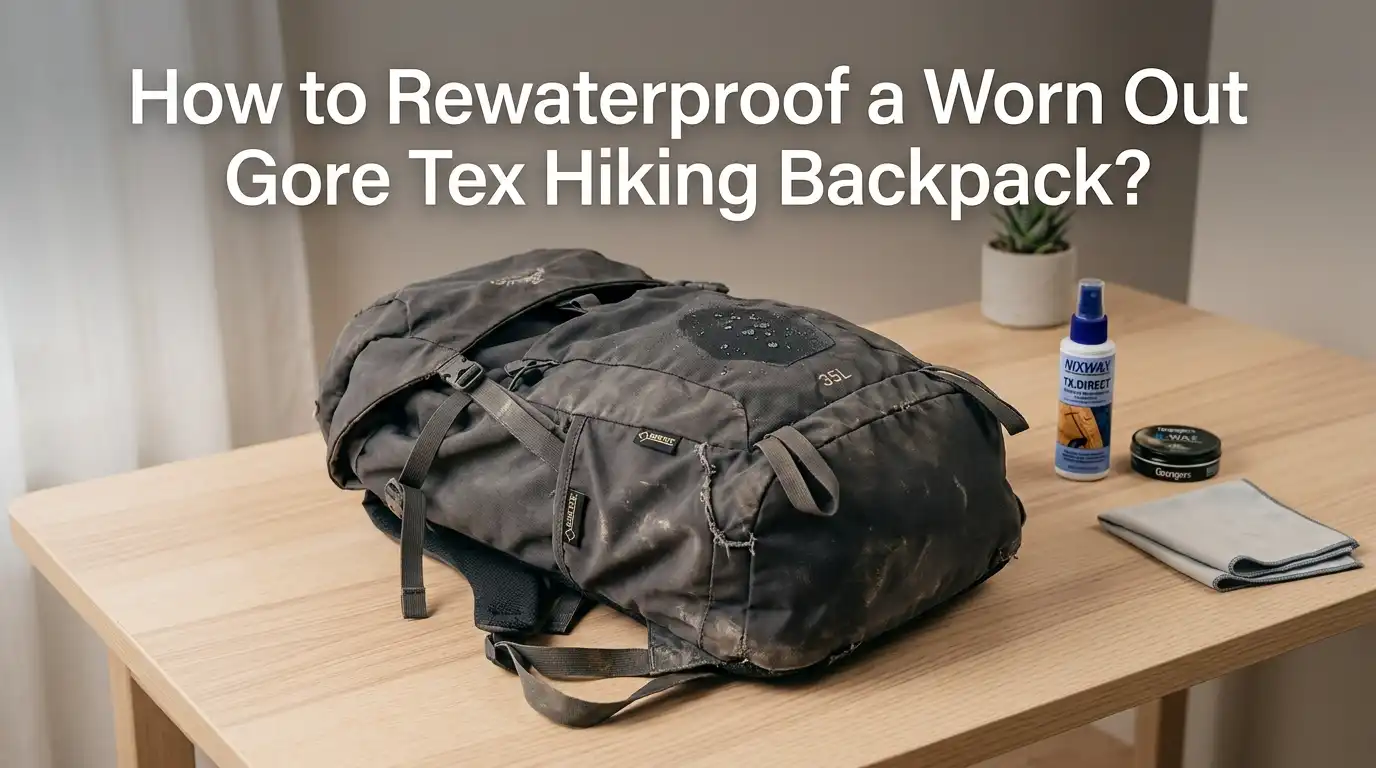
How to Rewaterproof a Worn Out Gore Tex Hiking Backpack?
A wet backpack can ruin a good day on the trail. Your spare shirt gets damp. Your map curls up. Your sleeping gear starts to feel cold and heavy. If your old Gore Tex hiking backpack has stopped shedding rain, the good news is simple.
You may not need a new pack. In many cases, you can bring back solid water protection with a careful wash, a fresh water repellent treatment, and a few smart repairs.
This guide shows you exactly what to do. You will learn how to check what has failed, how to clean the pack without harming the fabric, and how to choose the best fix for your level of wear. Small steps matter here. If you do them in the right order, your pack can handle rain far better and last much longer.
In a Nutshell
- Start with cleaning, not coating. Dirt, sweat, skin oil, and trail grime can make a pack soak up water faster. A dirty fabric face often looks like a failed waterproof layer. Wash first and test second before you buy or apply anything.
- Find the real failure point. Water may come through the outer fabric, the seams, the lid, the zipper area, or a peeling inner coating. Each issue needs a different fix. A fresh spray alone will not solve cracked seam tape or flaking inner layers.
- Use the safest method first. Hand washing with lukewarm water and a gentle cleaner is the safest place to begin. Most packs do better with hand care than machine washing. Gentle work protects fabric coatings, foam, mesh, and frame parts.
- Spray on treatment is often the best next step. A spray on water repellent finish usually works well for backpacks because you can target the outside fabric only. Pros: easy control and less waste. Cons: it takes more time and may need a second coat on high wear zones.
- Repairs matter as much as waterproofing. If seams leak or the inside coating peels, you need repair work too. A seam sealer can stop drips at stitch lines. A pack liner or dry bags can still help on very wet trips. Backup protection is smart, not lazy.
- Ongoing care keeps the fix working. Clean salt and dirt off after trips. Dry the pack fully before storage. Reapply water repellent only when water stops beading. A short care routine saves money, protects your gear, and keeps your pack ready for the next storm.
Why a Gore Tex Backpack Stops Shedding Water
A worn pack rarely fails all at once. Most of the time, the outer fabric starts to darken and hold water because the water repellent finish has worn down. Dirt, skin oil, pack abrasion, and time all speed this up. The pack may still block some water, but it feels colder, heavier, and less breathable.
Another common issue is seam wear. Stitch lines, corners, lid edges, and high stress points can let water in first. If the inside coating starts to peel, the problem becomes bigger. At that point, the fabric may lose both water resistance and structure.
This is why diagnosis matters. You do not want to spray new treatment on a pack that really needs seam repair. A clean fabric with a fresh finish can work well. A cracked seam or damaged inner layer needs a different fix.
Find the Real Problem Before You Start
Before you wash anything, do a quick check in bright light. Look at the pack body, bottom panel, seams, zipper flaps, and lid. Splash a little water on several areas. If water beads and rolls off one panel but soaks into another, the finish is uneven. That is a good sign that reproofing can help.
Now look inside the pack. Rub the inner coating with your fingers. If it feels sticky, dusty, or flaky, the old coating may be breaking down. Also check seam tape or sealed seams for gaps. If the tape lifts or the seal cracks, water can enter even if the outer fabric still looks fine.
A five minute check saves time. Pros: you fix the right issue. Cons: if you skip this step, you may waste effort on the wrong treatment and still end up with a wet pack.
Check the Care Label and Gather the Right Supplies
Every pack has its own limits. Some can handle more water and scrubbing than others. Some should never go in a washing machine or dryer. Look for the care label or maker instructions first. This step protects foam, frames, mesh pockets, and coated fabric.
Gather simple supplies. You need lukewarm water, a soft sponge or cloth, a soft brush, and a gentle cleaner made for waterproof gear or a very mild soap with no heavy scent or additives. You may also need a spray on water repellent, seam sealer, clean towels, and a hanger or drying rack.
Keep it simple. Strong detergent, bleach, and hot water can strip coatings or leave residue. Pros of gentle supplies: safer on fabric and easier to rinse out. Cons: they may take a little longer on deep stains, but that tradeoff is worth it for a technical pack.
Empty the Pack and Do a Dry Clean First
Take out every item. Open every pocket. Shake out sand, crumbs, leaves, and grit. Use a vacuum with light suction if needed around seams and corners. Dirt trapped in the pack can turn into muddy paste during washing, so remove as much as you can while the pack is dry.
Brush zippers gently with a soft brush. Wipe the inside with a dry cloth first. If the harness, hip belt, or frame parts come off, remove them if the design allows. This makes cleaning easier and helps the pack dry faster later.
Dry cleaning first is easy and smart. Pros: less grime in the wash, less rubbing on the fabric, and better results from the cleaner. Cons: it adds one more step, but it often cuts the main washing time in half and reduces wear during scrubbing.
Hand Wash the Pack Without Damaging the Fabric
Fill a tub or large sink with lukewarm water. Add a small amount of gentle cleaner. Lower the pack into the water and move it slowly with your hands. Use a sponge on the inside and outside. Use a soft brush only on dirty spots, sweat marks, and the back panel area.
Focus on the shoulder straps, hip belt, lid, and lower back panel. These spots collect salt and oil. Be gentle on mesh pockets and coated panels. Do not scrub hard. Do not twist the pack to wring out water. That can stress seams and bend support parts.
Gentle hand washing is the safest main method. Pros: strong control and low risk to coatings. Cons: it takes more effort than machine washing. Still, for a technical hiking pack, hand washing is usually the better choice and gives you more control over every wet area.
Rinse Well and Dry the Safe Way
Drain the dirty water and rinse the pack with clean cool water. Rinse again if soap remains. Leftover cleaner can attract dirt later and reduce the effect of any fresh water repellent treatment. Press water out gently with your hands, but do not twist or wring the fabric.
Hang the pack in a shaded, airy place. Open all pockets and loosen all straps. If you can, stuff the main compartment loosely with clean towels for the first hour to pull out extra moisture. Then remove them so air can move through the pack.
Full drying matters more than people think. Damp foam and webbing can trap odor and slow down later treatments. Pros of air drying: safer for most packs. Cons: it takes longer. Avoid direct hot sun for long periods, since too much heat and strong light can stress fabric over time.
Test Water Beading Before You Add Any Treatment
Once the pack is fully dry, test it again. Sprinkle water on the lid, front panel, bottom, and strap anchor zones. If water now beads and rolls off better than before, cleaning may have restored much of the original performance. That happens more often than many hikers expect.
If the fabric still darkens quickly and holds water, it is time for a fresh finish. Do not rush past this test. A pack that already improved after cleaning may only need spot treatment on high wear areas. That saves time and avoids overuse of proofing products.
Test, then decide. Pros: you use only what the pack needs. Cons: this step feels small, so people skip it. But it can tell you whether the problem was dirt, finish loss, or something deeper like seam leaks or failing inner coating.
Reapply a Spray On Water Repellent Finish
Lay the clean, dry pack flat or hang it up. Spray the outer fabric evenly from a short distance. Focus on the lid, front face, side panels, bottom, and pocket tops. These zones see the most rain and abrasion. Wipe off drips with a clean cloth so the finish spreads evenly.
Let the treatment set as directed on the label. Some finishes work best on damp fabric and some on dry fabric, so read the instructions. If the care label allows gentle heat, a short low heat finish may help activate the treatment. If not, air dry fully.
Spray on treatment is often the best backpack choice. Pros: you treat the outside only, you control coverage, and you avoid coating the inside. Cons: it takes patience and can miss spots if you spray too fast. A second light coat can help on worn panels.
Choose Spray On or Wash In Method
Backpack owners often ask which method is better. In most cases, spray on is the safer choice for packs. It treats the outer face where rain hits first. It also avoids adding finish to the inside of the pack, where you may want better moisture handling around padding and lining.
Wash in treatment can still work for some simple fabric items, but packs are more complex. They have foam, mesh, webbing, frame parts, and pockets that do not always benefit from full saturation with treatment. That makes the result less predictable.
Here is the simple rule. Spray on pros: better control, good for mixed materials, less waste. Spray on cons: slower and more hands on. Wash in pros: quick and even on simple gear. Wash in cons: less control and less ideal for a structured backpack with many materials.
Seal Seams, Corners, and Worn Stitch Lines
If water leaks through seams, a fresh fabric finish will not solve it. Turn the pack inside out where possible or open it wide so you can reach the seam lines. Apply seam sealer in a thin line on worn stitch areas, especially around the lid, base, side pockets, and stress points near strap anchors.
Use a small brush or applicator if the product allows it. Let it cure fully before using the pack. Do not rush this part. If the seam sealer is still tacky, dirt will stick to it and the bond may weaken.
Seam sealing is a strong fix for targeted leaks. Pros: great for stitch lines, pin holes, and worn corners. Cons: it does not restore large fabric panels, and a messy job can look rough. A careful hand makes a big difference here.
Handle Peeling Inner Coating and Old Damage
A peeling inner coating is a more serious problem. You may notice flakes, sticky patches, or a dusty film inside the pack. In that case, new water repellent spray on the outside will help only a little. The damaged inside layer needs attention too.
Start by removing loose flakes gently with a cloth or soft brush. Do not scrape hard. After that, you can patch small worn spots with a suitable repair coating or patch system made for outdoor fabrics. If the damage is wide across the whole pack, a full restoration may not last long.
Be honest about the pack condition. Pros of spot repair: low cost and useful for small areas. Cons: large scale peeling often returns. If the inner layer has failed across most of the bag, backup protection inside the pack becomes more important than chasing a perfect exterior fix.
Use a Pack Liner or Dry Bags for Real Storm Protection
Even a well restored backpack may not become fully stormproof again. Heavy rain, wet ground, and hours of exposure can beat almost any worn fabric. That is why smart hikers protect the contents too. Use a pack liner inside the main compartment or place key gear in dry bags.
This is the best fix for sleeping gear, spare clothes, electronics, and paper maps. You can pair a liner with your restored outer fabric and get much better real world protection. Some hikers also use a rain cover, though wind driven rain can still reach the back panel and sides.
Layered protection works. Pros of a liner: cheap, light, and very effective for gear safety. Cons: it does not make the pack itself feel drier. A rain cover helps surface shedding, while a liner protects what matters most inside.
Build a Simple Care Routine So the Problem Does Not Return Fast
After each trip, empty the pack and wipe out dirt before it settles in. If the pack got wet, dry it fully with pockets open. Loosen the straps before storage. Do not leave the pack crumpled in a car trunk or damp garage for days. That shortens the life of coatings and foam.
Every few trips, do a quick water bead test on the lid and front panel. If water still rolls off, leave it alone. If it starts to soak in, clean the pack first. Reapply a fresh finish only when needed. Too much product can build up and stop helping.
Simple care beats big rescue jobs. Pros: less work later, better trail performance, and longer fabric life. Cons: you need a small habit after each trip. The habit is easy, and it saves your pack from early wear.
FAQs
Can I put a Gore Tex hiking backpack in a washing machine
It is usually better not to. Many packs have foam, mesh, frames, buckles, and coatings that do better with hand washing. A washing machine can stress seams and shape. A gentle hand wash with lukewarm water is the safer method for most technical packs.
How often should I rewaterproof my backpack
Do it only when the clean fabric stops beading water. Some hikers need it once a season. Others need it less often. Dirt level, sun, abrasion, and trip frequency all matter. Clean first, test second, treat third is the best order.
Will reproofing make an old pack fully waterproof again
Sometimes it helps a lot, but it may not make the pack fully waterproof. If seams leak or the inner coating peels, water can still get in. A fresh finish improves shedding on the outside. A liner or dry bags protect the gear inside during long rain.
What is the best method for most backpacks
For most worn hiking packs, the best order is hand wash, full dry, water test, then spray on treatment if needed. Add seam sealer on leaking stitch lines. This method gives good control and protects mixed materials better than a full wash in treatment.
What if the inside coating is sticky and flaking
That usually means the inner layer is breaking down. You can clean off loose bits and do small spot repairs, but wide damage is harder to solve for the long term. In that case, focus on seam repair, outer fabric treatment, and strong internal protection with a liner or dry bags.

Hi, I’m Luna Beck — the founder and voice behind Urban Pack Vault. I’m passionate about helping people find bags that perfectly match their lifestyle. From backpacks to travel luggage, I research, review, and recommend so you never have to second-guess your next purchase.