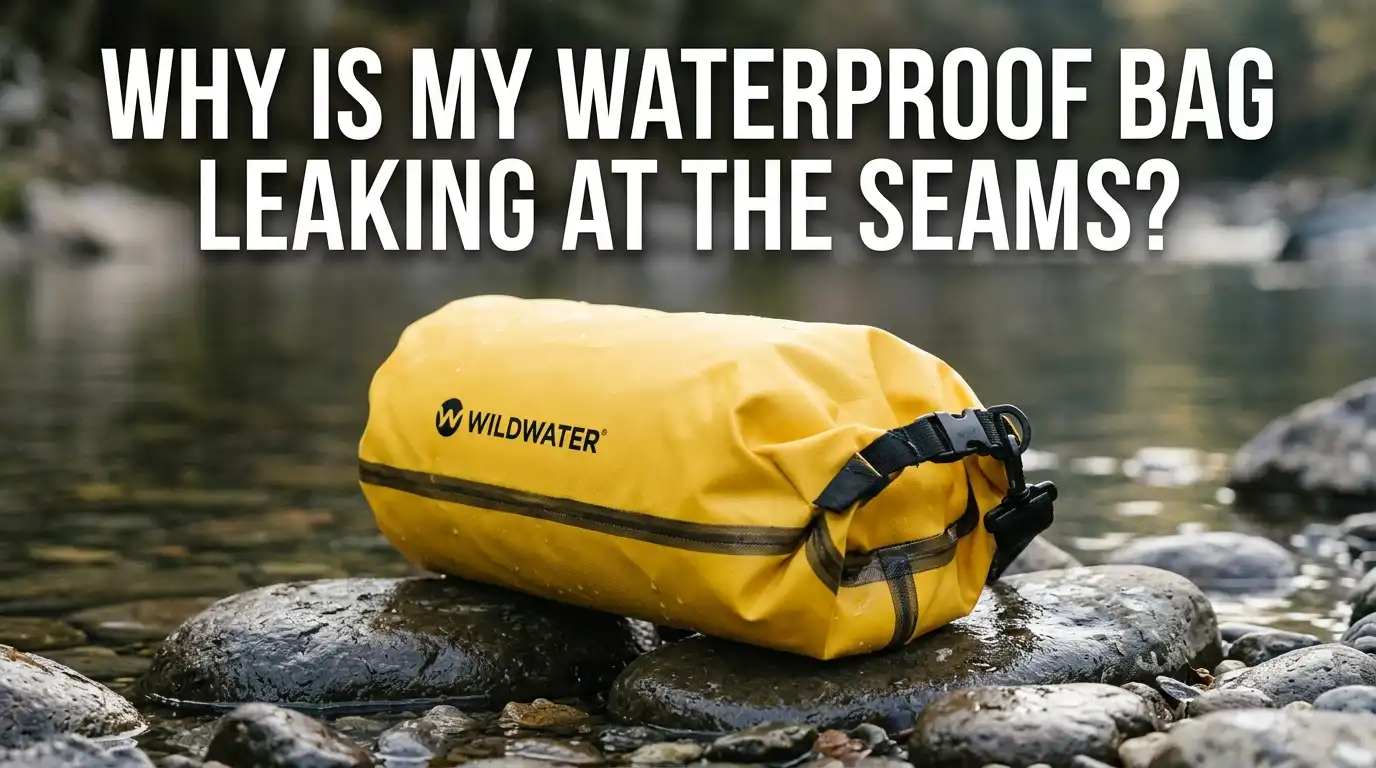
Why Is My Waterproof Bag Leaking At The Seams?
You packed your gear, sealed your bag, and trusted it to keep everything dry. But when you opened it up, your clothes were damp, your phone was foggy, and your confidence in that “waterproof” bag was shattered.
Sound familiar? You are not alone. Seam leaks are the number one reason waterproof bags fail, and the good news is that most of these leaks can be fixed at home with basic tools.
The truth is, waterproof bags rarely fail because the fabric stops working. The fabric itself does its job just fine. Water sneaks in through the seams because that is where the bag is most vulnerable.
In a Nutshell
- Seams are the weakest link in any waterproof bag. The fabric is built to repel water, but the seams create gaps, holes, or bonds that can degrade over time. Understanding why and where your bag leaks is the first step to fixing it.
- There are three main seam types used in waterproof bags: welded, taped, and stitched. Welded seams fuse the fabric together with heat and leave no needle holes. Taped seams use adhesive strips to cover stitched joints. Stitched seams rely on thread alone and need sealant to stay waterproof. Each type fails differently, and each needs a different repair approach.
- Most seam leaks happen because of age, UV damage, overpacking, or rough handling. Folding and compressing your bag repeatedly weakens the seam bonds. Prolonged sun exposure breaks down adhesive tape and sealant. Stuffing your bag too full puts excess pressure on every joint.
- You can test your bag for leaks using a simple air and water method. Fill the bag with air, seal it, and submerge it in water. Watch for bubbles escaping from the seams. This tells you exactly where the problem is.
- Repairs are affordable and accessible. Seam sealants, iron on seam tape, self adhesive patches, and urethane glues can all restore your bag’s waterproof performance. Most repairs take less than an hour of active work plus curing time.
- Prevention matters more than repair. Regular cleaning, proper storage, and periodic reapplication of DWR coatings will keep your bag’s seams strong for years.
Understanding Seam Types in Waterproof Bags
Not all waterproof bag seams are created equal. The type of seam on your bag determines how it fails and how you should fix it. Welded seams use heat or radio frequency energy to fuse two pieces of fabric together. They create a continuous bond with no needle holes. These are common on high end dry bags built for submersion.
Taped seams start as stitched joints. A factory then applies a waterproof adhesive tape over the stitching on the inside of the bag. This tape covers the needle holes and blocks water from passing through. Stitched seams use thread alone, and unless they receive a sealant treatment, they are the least waterproof option.
Pros of welded seams: no needle holes, consistent waterproof performance, and great for heavy water exposure. Cons: they require special equipment to repair, and they can become brittle in extreme cold or UV exposure.
Pros of taped seams: good balance of cost and water resistance, easy to re iron or replace. Cons: the tape peels over time and needs periodic maintenance. Knowing your seam type helps you choose the right repair method.
Common Reasons Your Bag Leaks at the Seams
Several factors cause seam failure. Age and wear sit at the top of the list. Every time you fold, roll, or compress your bag, the seams flex. This flexing slowly breaks down adhesive bonds and loosens tape edges. Over months and years, these tiny failures add up until water finds a path inside.
UV exposure is another major cause. Sunlight degrades adhesive tape, sealant compounds, and even the coatings on the fabric near the seams. If you leave your bag in direct sunlight for extended periods, the seams will weaken faster than expected.
Overpacking puts extreme stress on seam joints. When you stuff a bag past its intended capacity, the internal pressure pushes outward against every seam. This stretches the bonds and creates micro gaps.
Rough handling during transport, such as dragging the bag across rocks or sharp surfaces, can tear stitching and lift tape edges. Chemical exposure from sunscreen, insect repellent, or fuel can also dissolve sealants and weaken adhesive bonds.
How to Find the Exact Leak Point
Before you can fix a leak, you need to find it. The air and water test is the most reliable method. Close your bag completely and fill it with air by trapping air inside as you seal the closure. Submerge the inflated bag in a bathtub or large basin of water. Squeeze the bag gently and watch for streams of tiny bubbles.
The bubbles will escape from the exact location of the leak. Mark each spot with a waterproof marker so you can find it again after you dry the bag. Pay close attention to corners, seam intersections, and areas near zippers or closures. These high stress zones are where leaks most often appear.
If you do not have access to a tub, you can run your fingernail slowly along every seam. Feel for gaps, rough spots, or places where tape has lifted. Another option is to fill the bag with a few paper towels, seal it, and leave it submerged for 30 minutes. Check which paper towels got wet. This tells you which section of the bag is leaking.
Fixing Peeling Seam Tape with an Iron
If your bag uses taped seams and the tape is peeling away from the fabric, you can often re bond it with a household iron. This is one of the easiest and cheapest repairs you can do. Start by cleaning the seam area with rubbing alcohol to remove dirt and oils. Let it dry completely.
Set your iron to the nylon or synthetic setting. Place a thin cotton cloth, like a handkerchief, between the iron and the bag to protect the fabric.
Press the iron firmly over the peeling tape for 10 to 15 seconds at a time. Move slowly along the seam, applying even pressure. The heat reactivates the adhesive in the tape and bonds it back to the fabric.
Pros of this method: it costs nothing extra, it is fast, and it works well on tape that has recently started to lift. Cons: it does not work if the tape is severely degraded or crumbling, and too much heat can damage the bag fabric. Always test on a small hidden area first. After ironing, let the seam cool completely before testing it with water.
Applying Liquid Seam Sealant for a Permanent Fix
Liquid seam sealant provides a stronger and more lasting repair than ironing alone. Products like Seam Grip WP or Aquaseal are urethane based adhesives that create a flexible, waterproof barrier over any seam. They work on stitched seams, taped seams, and even along the edges of welded seams that have started to separate.
Clean the seam thoroughly with rubbing alcohol. Apply a thin, even line of sealant directly over the seam using the applicator tip or a small brush. Work the sealant into the stitch holes if the seam is stitched. For wider coverage, spread the sealant about half a centimeter beyond each side of the seam line.
Allow the sealant to cure for 8 to 24 hours depending on the product instructions. Do not fold or roll the bag during this time. Some sealants cure faster if you mix them with an accelerator, but the standard air cure method produces the most durable bond.
Pros: long lasting, highly waterproof, flexible after curing, and works on most fabric types. Cons: requires patience for curing time, can be messy if over applied, and the bag cannot be used until the sealant is fully set.
Using Self Adhesive Patches on Damaged Seams
Sometimes a seam does not just leak. It separates, tears, or develops a visible gap. In these cases, a self adhesive waterproof patch provides the best coverage. These patches are made from materials that bond with PVC, TPU, and PU coated fabrics. They are available in clear or color matched options.
Clean the damaged area with rubbing alcohol and let it dry. Cut the patch so it extends at least one centimeter beyond the damage on all sides. Round the corners of the patch to prevent them from catching and peeling. Peel the backing and press the patch firmly from the center outward to push out air bubbles. Place a heavy object on top and let it set for 4 to 24 hours.
For extra security, apply a thin line of seam sealant around the edges of the patch after it has bonded. This prevents water from working its way under the patch edges over time.
Pros: covers larger damage areas, easy to apply, no special tools needed. Cons: visible on the outside of the bag unless applied internally, and may peel in extreme heat or with heavy flexing.
Repairing Welded Seams That Have Separated
Welded seam separation is the most difficult type of seam leak to fix at home. Factory welding uses ultrasonic or radio frequency machines that fuse fabric layers together at a molecular level. You cannot replicate this bond with household tools. However, you can create a strong repair using the right adhesive.
Choose a glue that matches your bag’s coating material. PVC cement works best for PVC coated bags. Urethane adhesive works well with TPU and PU coated fabrics. Marine adhesive sealant is another option for high stress areas that need a strong, flexible bond.
Clean both sides of the separated seam. Apply a thin, even layer of adhesive to both edges. Press the seam back together carefully and align the edges. Use clamps or place heavy objects along the seam to hold it in position. Let the adhesive cure for the full recommended time, usually 12 to 24 hours. After curing, reinforce the repair with a waterproof patch over the seam for added protection.
Pros: restores function to a failed welded seam, strong bond with the right adhesive. Cons: not as strong as the original weld, requires precise alignment, and choosing the wrong adhesive type can result in a weak bond.
Testing Your Repair Before You Trust It
Never skip the testing step. A repair that looks solid can still leak under pressure. After your sealant or adhesive has fully cured, perform the air and water test again. Fill the bag with air, seal it, and submerge it in water. Squeeze gently and watch every repaired area for bubbles.
Hold the bag underwater for at least 60 seconds. If no bubbles appear, your repair is holding. For an extended test, fill the bag with dry paper towels, seal it, and leave it submerged for 30 minutes. Check the towels for any dampness.
If you find a remaining leak, dry the area and apply a second coat of sealant or a new patch. Some repairs need two applications to fully seal. This is normal and does not mean the first repair failed. It simply means the gap was deeper or wider than it appeared. Always test again after any additional repair work.
How Overpacking and Misuse Cause Seam Failure
Your bag has a weight and volume limit for a reason. Overpacking is one of the fastest ways to destroy seams. When you force extra gear into a bag, the internal pressure pushes outward against every seam joint.
This stress is constant for the entire time the bag stays packed. Over days and weeks, the pressure loosens tape, stretches adhesive bonds, and opens micro gaps in welded seams.
Improper closure also causes leaks. Roll top bags need at least three full rolls to create a proper seal. If you only roll once or twice, the closure does not generate enough compression. Zip lock style closures must be pressed firmly across the entire track with no gaps.
Dragging your bag across rough ground tears stitching and grinds away at seam tape. Throwing or dropping your bag creates impact stress that concentrates at the seam joints. Treat your waterproof bag like the precision piece of gear it is. Fill it to its rated capacity, close it correctly, and handle it with care.
Maintaining Your Bag’s Waterproof Coating
The seams are not the only thing keeping water out. Your bag’s DWR (Durable Water Repellent) coating plays a critical role in preventing moisture from saturating the fabric near the seams. When DWR wears off, water stops beading on the surface and instead soaks into the outer layer. This saturated fabric puts additional pressure on the seams.
Reactivate your bag’s DWR by washing it gently with a mild soap or a specialized gear wash. Rinse thoroughly and allow it to air dry. For many DWR coatings, a low heat tumble dry or gentle ironing can reactivate the water repellent properties. If beading does not return, apply a spray on DWR treatment to the exterior of the bag.
Avoid harsh detergents, bleach, and fabric softeners. These chemicals strip the DWR coating and damage seam adhesives. Store your bag clean, dry, and away from direct sunlight.
A well maintained coating extends the life of your seams by keeping the surrounding fabric dry and reducing the water pressure that reaches the seam joints.
Proper Storage to Prevent Future Seam Damage
How you store your bag between trips matters more than most people realize. Folding a waterproof bag tightly and leaving it compressed for months weakens the seams. The constant pressure along the fold lines degrades adhesive tape, cracks sealant, and stresses welded bonds.
Store your bag loosely rolled or hanging in a cool, dry location. Avoid attics, garages, and car trunks where temperatures swing between extremes. Heat softens adhesives, and cold makes them brittle. Both conditions accelerate seam failure. Keep the bag away from windows and direct sunlight to prevent UV degradation.
Before storing, always clean and fully dry your bag. Moisture trapped inside a sealed bag promotes mold and mildew growth, which can eat away at adhesive bonds and fabric coatings. Open the closure and let air circulate through the bag for at least a day before you put it away. A little care during storage prevents expensive repairs later.
When to Replace Instead of Repair
Not every leaking bag is worth fixing. If your bag has multiple seam failures across different areas, the overall integrity of the materials may be compromised. Patching one spot while three others are about to fail is a losing battle.
If the fabric itself has become thin, brittle, or shows widespread coating delamination, repairs will not last long. The same applies if the seam tape has crumbled away entirely rather than just peeling at the edges. At that point, the adhesive has degraded beyond what re ironing or sealant can restore.
Consider the value of the contents you plan to protect. If your bag carries electronics, important documents, or expensive camera gear, a questionable repair is a risky bet.
A new bag with fresh seams and intact coatings provides reliable protection that a heavily repaired bag cannot match. Use your repaired bag for low stakes items like clothing or towels, and invest in a replacement for your most valuable gear.
Frequently Asked Questions
Can I use regular household glue to fix a waterproof bag seam?
Regular household glue like white glue or super glue is not a good choice for waterproof bag repair. These adhesives are not flexible, and they break down quickly with water exposure. Use a urethane based sealant like Seam Grip WP or Aquaseal instead. These products stay flexible after curing and create a true waterproof bond on coated fabrics.
How often should I check my waterproof bag for seam damage?
Inspect your bag before and after every trip. Run your fingers along the seams and look for peeling tape, cracking sealant, or visible gaps. A quick two minute check can catch a small problem before it ruins your gear on the trail or on the water.
Does the roll top closure affect seam leaking?
Yes. A roll top closure needs at least three full rolls to create a proper waterproof seal. Under rolling leaves the closure loose and allows water to enter from the top. Even if your seams are perfect, a poorly rolled closure will let water inside.
Can I machine wash my waterproof bag?
Most waterproof bag manufacturers recommend against machine washing. The agitation cycle and spin can damage seam tape, stretch welded seams, and strip DWR coatings. Hand wash your bag with mild soap and lukewarm water, then air dry it completely.
Is duct tape a reliable long term fix for a seam leak?
Duct tape works as an emergency temporary fix but should not be treated as a permanent repair. It loses adhesion with repeated water exposure and can leave sticky residue that makes future repairs harder. Replace duct tape patches with proper seam sealant or waterproof patches as soon as possible.
Why do new waterproof bags sometimes leak at the seams right away?
Some lower cost bags ship with incomplete seam sealing from the factory. The tape may not cover every stitch hole, or the welding process may have left small gaps. If your new bag leaks, test it with the air and water method and apply seam sealant to any weak points before your first real use.

Hi, I’m Luna Beck — the founder and voice behind Urban Pack Vault. I’m passionate about helping people find bags that perfectly match their lifestyle. From backpacks to travel luggage, I research, review, and recommend so you never have to second-guess your next purchase.