Why Is My Anti-Theft Backpack Zipper Stuck In The Lock?
Anti-theft backpacks promise peace of mind, but a jammed zipper can turn that comfort into instant panic.
You reach for your wallet, your charger, or your passport, and the slider refuses to budge. The lock holds tight, the teeth refuse to part, and you stand there tugging while the clock ticks.
This problem happens more often than most travelers expect. Hidden zippers, lockable pullers, and reinforced tracks add security, but they also add friction. Dirt, fabric snags, bent teeth, or a misaligned combination dial can all freeze the zipper in place.
Key Takeaways
- Most stuck anti-theft zippers fail because of three reasons: fabric caught in the teeth, dried dirt or salt inside the lock chamber, or a misaligned combination code that blocks the slider.
- Lubrication solves about 70 percent of cases. A graphite pencil, bar soap, candle wax, or lip balm rubbed along the teeth will free a sticky slider without staining the fabric.
- Never force the pull tab straight up. Forcing it bends the slider, breaks the lock loop, and can rip the fabric tape. Always wiggle gently side to side first.
- Combination locks slip out of sync over time. Reset your code by following the bag manual or by using the small reset pin found near the dial.
- Prevention beats repair. Keep your zipper clean, store the bag dry, and avoid overstuffing the main compartment to extend the life of the lock system.
- A broken slider can be replaced at home with pliers and a spare slider, so you rarely need to throw out the whole backpack.
Understanding How Anti-Theft Zippers Work
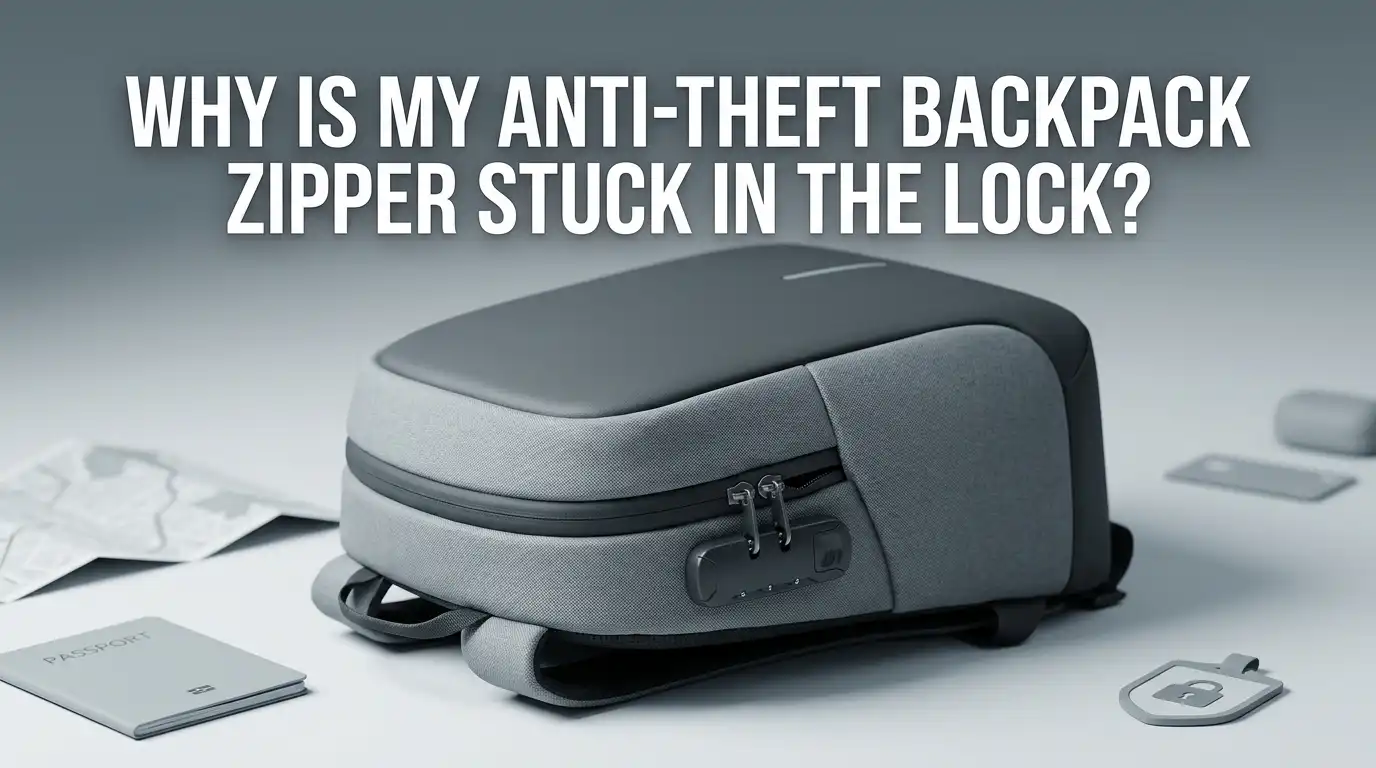
Anti-theft backpacks use a different zipper system than regular bags. The pulls hide behind a flap or clip into a small lock loop sewn into the seam. Some models add a combination dial, a TSA lock, or a magnetic clasp.
This design blocks pickpockets, but it also adds pressure points where things can jam. The slider sits deeper in the fabric channel. The pull tab connects to a metal loop that catches on threads.
When you understand the parts, fixing the problem becomes simple. The slider is the moving piece. The teeth are the rows that interlock. The lock loop is the small metal or plastic ring that holds the pull. Knowing these names helps you spot the exact issue.
Common Reasons Your Anti-Theft Zipper Gets Stuck
A stuck zipper usually has a clear cause. Fabric snags are the top reason. The inner lining or an outer flap slips into the teeth and blocks the slider mid track.
Dirt and grime come next. Sand, sweat salt, food crumbs, and pocket lint build up inside the slider channel. Over weeks, they harden into a paste that glues the moving parts together.
Misaligned locks also freeze the zipper. If your bag has a combination dial, even one wrong digit holds the slider in place. A bent tooth or a worn slider creates a fourth problem. The slider loses grip and gets stuck halfway. Knowing which cause applies to your bag saves time during repair.
Step One: Inspect the Zipper Before You Pull
Stop tugging and look first. Most people make the jam worse by yanking the pull tab. A quick inspection saves the zipper from permanent damage.
Hold the bag under bright light. Check for fabric threads poking through the teeth. Look for dirt, sand, or white salt crust along the track. Spin any combination dial to confirm the code reads correctly.
Run your finger along the closed section of the zipper. Feel for bent or missing teeth. Then run your finger along the open section. If the teeth feel rough or uneven, the slider may have lost its shape. Once you spot the cause, you can pick the right fix below.
Pros of inspecting first: You avoid making the jam worse and pick the correct method.
Cons: It takes a few extra minutes when you may feel rushed.
How to Free Fabric Caught in the Zipper Teeth
Fabric snags feel hopeless but usually come loose with patience. Hold the slider with one hand and the stuck fabric with the other. Pull the fabric away from the teeth at a slight angle, not straight back.
Wiggle the slider back toward the closed end of the zipper while you tug the fabric. Move it just one or two millimeters at a time. If the snag holds firm, grab a pair of tweezers or a toothpick to push the fabric down and out.
Rub a bar of soap or a graphite pencil along the teeth near the snag. The lubricant lets the fabric slip free. Keep your moves slow.
Pros: Works on most snags with no special tools.
Cons: Heavy snags may leave small holes in the lining.
How to Clean a Dirty Anti-Theft Zipper Lock
Dirt is the silent killer of zipper systems. Sand from the beach, salt from sweat, and dust from daily use all build inside the slider. A clean zipper glides smoothly again.
Mix warm water with a drop of dish soap. Dip an old toothbrush in the mix and scrub the teeth on both sides. Pay extra attention to the area around the lock loop, where grime hides.
Wipe the zipper dry with a clean cloth. For tough buildup, dab a cotton swab in white vinegar and run it along the teeth. Vinegar dissolves salt and mineral crust without harming most fabrics. Let the bag air dry fully before you test the zipper again.
Pros: Removes the root cause of stickiness.
Cons: Takes time to dry and may need repeat cleaning for heavy grime.
The Graphite Pencil Trick for Stuck Zippers
This old trick still beats most modern sprays. A graphite pencil leaves a dry lubricant layer on the teeth that helps the slider move smoothly. Sand and dust do not stick to graphite the way they stick to oil.
Grab a regular number 2 pencil. Rub the tip along both sides of the teeth where the slider sits. Coat the teeth above and below the slider for about an inch.
Work the slider back and forth in small motions. The graphite slips into the gaps and frees the metal. Repeat the rub two or three times if needed. This method works on plastic, metal, and coil zippers found on anti-theft bags.
Pros: Cheap, clean, and works on all zipper types.
Cons: May leave a faint gray mark on light fabric.
When and How to Use Soap, Wax, or Lip Balm
If you do not have a pencil nearby, other household items work well. Bar soap is the easiest. Rub a dry corner of the soap across the teeth on both sides of the slider.
Candle wax and lip balm also work as lubricants. Press the wax against the teeth and slide your finger along to spread it. Lip balm comes in a tube, so it controls the amount you apply.
Avoid liquid oils like cooking oil or WD 40 on anti-theft bags. They attract dirt and stain the fabric over time. Stick to dry or waxy lubricants. After applying, move the slider gently back and forth until it glides freely.
Pros: Uses items you already own.
Cons: Soap and wax can leave residue that needs cleaning later.
How to Fix a Misaligned Combination Lock
Many anti-theft backpacks come with a built in combination lock. If the slider will not move at all, the code may have shifted. Even one wrong digit blocks the slider from sliding past the lock plate.
Turn each dial slowly and check that your numbers line up exactly with the indicator line. Some dials sit a hair off center and look correct when they are not. Adjust each wheel by a small turn and test again.
If you forgot the code, try the reset method from the manual. Most locks reset by pressing a small pin or button while you set new numbers. If the dial spins loose without clicking, the lock may be broken inside and need replacement.
Pros: Quick fix when the code is the only issue.
Cons: Reset methods vary by brand, so check your manual.
Fixing a Slider That Will Not Grip the Teeth
Sometimes the slider moves but the teeth do not close behind it. This means the slider has stretched open from heavy use. The fix takes only a minute with pliers.
Grab a pair of needle nose pliers. Pinch the back end of the slider gently on both sides. Squeeze just a little, then test the zipper. Repeat with light pressure until the teeth lock again behind the slider.
Do not squeeze too hard. Over tightening crushes the slider and stops it from moving at all. If the slider still fails after three light squeezes, replace it with a new one of the same size, marked on the back of the original.
Pros: Fixes a worn slider in seconds.
Cons: Easy to overdo and crack the metal.
How to Handle a Broken Lock Loop or Pull Tab
The lock loop is the small ring that holds the pull tab. If it snaps off, the zipper still works but cannot lock. You can replace it without sewing.
Slip a small key ring or a paper clip through the hole in the slider. Bend it shut with pliers. This gives you a new pull and a new loop in one piece. For a cleaner look, buy a zipper repair kit online with matching pulls.
If the pull tab itself broke, use the same trick. A bent paper clip works as a temporary pull until you reach a tailor. Keep a spare ring in your travel kit for fast roadside fixes.
Pros: Costs almost nothing and works fast.
Cons: A paper clip looks less polished than the original.
Preventing Future Zipper Jams on Your Anti-Theft Backpack
Prevention saves you from the same headache next month. Clean your zipper once a month with a soft brush. Apply a thin layer of graphite or wax every few weeks if you travel often.
Avoid overstuffing the main compartment. Bulging fabric pushes against the teeth and forces the slider to work too hard. Close one zipper at a time when the bag is full.
Store your backpack in a dry, cool place between trips. Damp closets cause rust on metal zippers and mold on fabric. Before you zip up after rain, wipe the teeth dry with a towel. These small habits add years to the life of your lock system.
Pros: Stops most jams before they start.
Cons: Needs steady habit and a few minutes each month.
When to Take Your Backpack to a Professional
Some jams need expert hands. If your zipper has missing teeth, a snapped track, or a broken internal lock, home fixes will not hold. A bag repair shop or a cobbler can replace the whole zipper for a fair price.
Travel gear brands often offer warranty repairs. Check the tag inside your backpack for the brand name. Many anti-theft makers fix or replace the bag for free within the warranty window.
Bring the bag with the lock unlocked if possible. Repair shops cannot work on a sealed compartment without breaking the lock. Ask for a quote before they start. Most repairs cost far less than a new bag.
Pros: Saves a high value backpack from the trash.
Cons: Costs more than DIY and may take a few days.
FAQs
Why does my anti-theft backpack zipper keep getting stuck even after cleaning?
Repeated jams point to a worn slider or a bent tooth. Cleaning removes dirt but cannot reshape damaged metal. Inspect the teeth under bright light and tighten the slider with pliers, or replace it with a matching size.
Can I use WD 40 to free my stuck backpack zipper?
WD 40 frees the zipper for a day but causes long term harm. It attracts dust, stains light fabric, and breaks down coil zippers. Use graphite, soap, or wax instead for a clean, lasting fix.
How do I reset the combination on my anti-theft backpack lock?
Most locks reset with a small pin near the dial. Set the dials to your old code, press the pin, choose new numbers, and release the pin. Check your bag manual for the exact steps for your brand.
Will pulling harder break my anti-theft zipper for good?
Yes. Hard pulling bends the slider, snaps the lock loop, or rips the fabric tape. Always stop and inspect first. Gentle wiggling with lubricant solves the problem without damage.
What is the best lubricant for hidden anti-theft zippers?
A graphite pencil works best. It leaves a dry layer that helps the slider glide and does not attract dirt. Bar soap and candle wax come in second. Skip oils and sprays on hidden zipper systems.
How often should I clean my anti-theft backpack zipper?
Clean it once a month if you use the bag daily. Travelers who use the bag in sand, rain, or humid climates should clean it every two weeks. Quick brushing takes less than five minutes and prevents big jams.

Hi, I’m Luna Beck — the founder and voice behind Urban Pack Vault. I’m passionate about helping people find bags that perfectly match their lifestyle. From backpacks to travel luggage, I research, review, and recommend so you never have to second-guess your next purchase.