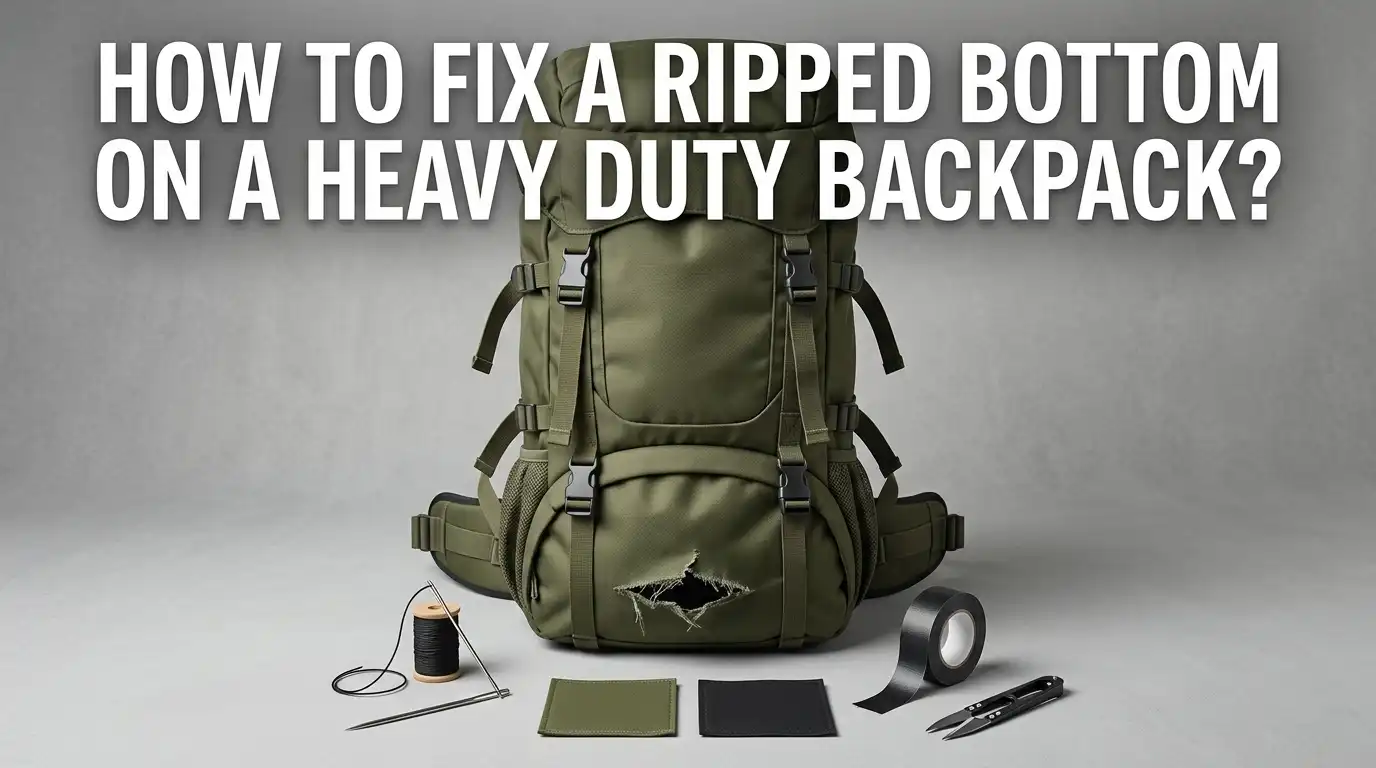
How To Fix A Ripped Bottom On A Heavy Duty Backpack?
A ripped backpack bottom can ruin your day in seconds. One moment you are loading up gear, and the next, your stuff is spilling out through a gaping hole.
Heavy duty backpacks carry tough loads like books, tools, camping gear, or work supplies, and that constant weight stresses the base fabric. Over time, even the strongest packs give way at the seams or floor panel.
The good news is that you do not need to throw your pack away. With a few simple tools and the right method, you can patch, sew, or glue the rip back into shape.
In a Nutshell
- Clean the area first. Dirt and dust block adhesives and weaken stitches, so always wipe the rip clean before any repair work.
- Match your method to the damage. Small holes need tape or glue, while large rips need sewing with a patch for true strength.
- Use heavy duty materials. Pick 500D Cordura, ballistic nylon, or thick canvas as your patch fabric. Light cotton will fail under load.
- Reinforce inside and outside. A two sided patch spreads the stress and stops the tear from spreading again.
- Sewing beats glue for heavy loads. If your pack carries more than 20 pounds, stitching with bonded nylon thread is the safest fix.
- Waterproof the repair. Apply seam sealer or silicone over your stitches so water does not soak through the new patch.
Why Backpack Bottoms Rip In The First Place
The bottom of a heavy duty backpack takes the most punishment. You set it on rough concrete, gravel, dirt, and bus floors many times a day. Each drop or scrape grinds the fibers down. Friction is the number one killer of pack fabric.
Heavy loads also pull the seams apart from the inside. Sharp items like tools, pens, or tent poles push against the base and weaken the threads. Sun exposure and moisture make nylon brittle over time. UV rays break down the coating, and damp storage rots the stitches.
Cheap zippers, thin floor panels, and overstuffing speed up the damage. Once you know the cause, you can fix the rip and stop it from happening again. Prevention starts with understanding the wear pattern on your bag.
Tools And Materials You Will Need
Gather your supplies before you start the repair. Having everything ready saves time and stops the rip from growing while you search for tools. A clean workspace also helps you spot small tears you might miss.
You will need heavy duty nylon thread, a curved upholstery needle, and sharp fabric scissors. Pick a patch fabric like 500D Cordura, ballistic nylon, or thick canvas. For glue based fixes, grab Shoe Goo, E6000, or Gear Aid Aquaseal.
Other helpful items include rubbing alcohol, a lighter, masking tape, a ruler, and a seam ripper. A thimble protects your fingers when you push through thick layers. If your pack has a waterproof coating, add a tube of seam sealer to your list.
Step One: Empty And Clean The Backpack
Start by taking everything out of the bag. Turn it upside down and shake loose any crumbs or dust. A clean bag makes every repair stick better and last longer.
Use a damp cloth with mild soap to wipe the torn area. Scrub away dirt, grease, and old glue residue. Oils from your hands also stop adhesives from bonding, so wash the area well. Let the fabric dry fully before moving on.
For tough stains, dab the spot with rubbing alcohol. This removes oil and prepares the surface for tape or glue. Never use bleach on nylon, since it breaks down the fibers. Once the bag is clean and dry, you are ready to inspect the damage.
Step Two: Inspect The Rip And Plan Your Fix
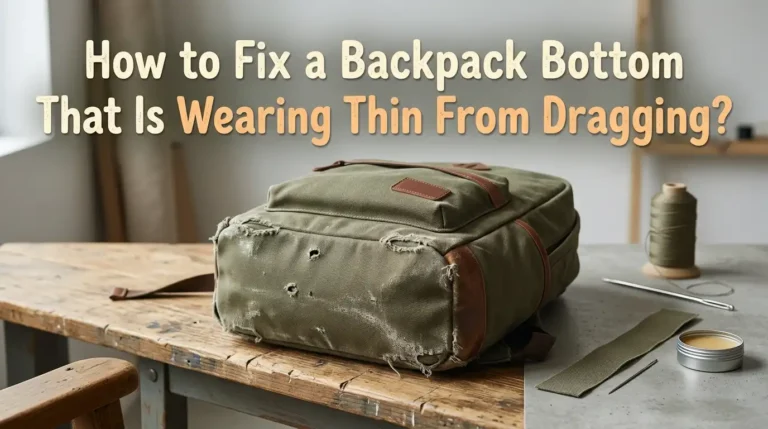
Look at the rip from both sides of the fabric. Small holes under one inch can often be sealed with tape or glue alone. Larger tears, frayed edges, or torn seams need sewing plus a patch.
Check if the rip runs along a seam or through the middle of the panel. Seam rips are easier to fix because the original stitch line guides your new stitches. A hole in the middle of the floor panel needs a patch on both sides for full strength.
Run your finger along the edge to feel for weak spots nearby. Mark them with chalk or masking tape. Planning your patch size before cutting saves fabric and prevents mistakes.
Step Three: Trim And Prepare The Torn Edges
Frayed threads stop a patch from sitting flat. Use sharp scissors to trim loose strings around the rip. Cut close to the fabric without enlarging the hole.
For nylon packs, run a lighter quickly along the cut edge. The heat melts the fibers and stops new fraying. Hold the flame two inches away and move fast, since nylon burns easily. Skip this step on cotton or canvas bags.
Flatten the area on a hard surface. Smooth out wrinkles with your hand or a warm iron set to low. A flat working surface keeps your stitches even and your patch aligned. Now the rip is ready for the chosen repair method.
Method One: Fixing Small Rips With Tenacious Tape
Tenacious Tape is a strong nylon backed adhesive made for outdoor gear. It bonds in seconds and holds up against water, cold, and stretch. This method works best for clean cuts under three inches long.
Cut a piece of tape that extends one inch past the rip on every side. Round the corners so they do not peel up. Sharp corners are the first place a patch starts to lift. Press the tape firmly over the hole and rub it down with a coin.
Pros include speed, no tools needed, and a clean look. Cons are that the tape can feel stiff against soft fabric, and it may not hold under heavy weight. Use this method as a quick field fix or for light tears only.
Method Two: Sewing A Heavy Duty Patch
Sewing gives the strongest and longest lasting repair. Cut a patch from 500D Cordura or ballistic nylon two inches larger than the rip on every side. Round the corners to prevent peeling and snagging.
Place the patch on the outside of the bag and pin it in place. Use a curved needle and bonded nylon thread to sew around the edge. A box stitch with an X through the middle gives the best strength. Pull each stitch tight but not so tight that the fabric puckers.
Pros include high strength, washability, and a long life. Cons include the time it takes and the need for a sturdy needle. For loads over 20 pounds, sewing is the only fix you should fully trust.
Method Three: Gluing A Patch For A Fast Fix
Fabric glue offers a quick repair when you cannot sew. Shoe Goo, E6000, and Gear Aid Aquaseal all work well on nylon and canvas. These glues stay flexible after they dry, which matches how the bag moves.
Cut your patch fabric to size and apply a thin layer of glue to the back. Press it firmly over the rip and place a heavy book on top. Let the glue cure for at least 24 hours before using the bag. Some glues need 48 hours for full strength.
Pros include no sewing skills needed and a clean finish. Cons include long drying time, possible stiffness, and weaker hold under sharp loads. Glue works best when paired with a few hand stitches around the edge.
Method Four: The Inside And Outside Double Patch
For the strongest repair on a heavy duty bag, use two patches. One goes inside the bag, and one goes outside, sandwiching the torn fabric between them. This spreads the load and stops the rip from growing.
Cut both patches to the same size, about two inches larger than the rip on each side. Glue the inside patch first and let it dry. Then sew the outside patch through all three layers using a box stitch pattern.
Pros include maximum strength, water resistance, and a clean look. Cons include extra time and slightly more bulk inside the bag. This method is the gold standard for serious tears on hiking, climbing, or work packs.
Reinforcing The Bottom To Prevent Future Rips
Once you repair the rip, take steps to stop the next one. Glue a full sheet of thick fabric over the entire floor panel. Vinyl, leather, or extra Cordura all work well for this.
You can also add small rubber feet to the corners of the bottom. These lift the bag off rough surfaces and protect the fabric from scrapes. Hardware stores sell stick on feet that work well for this job.
A removable internal frame sheet or plastic insert also helps. It spreads weight across the floor and stops sharp items from pushing through. Reinforcement now saves you from a bigger repair later.
When To Call A Professional Repair Service
Some rips are too big or in too tough a spot for home repair. Backpacks with internal frames, waterproof liners, or sealed seams need expert work. Gear repair shops have industrial sewing machines that handle thick fabric with ease.
Many outdoor brands offer lifetime repair services for their bags. Send a photo of the damage and ask for a quote first. Some companies fix small rips for free, while others charge a flat repair fee.
Pros include expert results, original looking finish, and warranty protection. Cons include cost and shipping time. If your pack cost a lot or holds sentimental value, a pro repair is worth the wait.
How To Care For Your Backpack After Repair
A good repair lasts only as long as you care for the bag. Avoid dragging the bottom across rough ground. Lift the pack with both hands when you set it down on concrete or gravel.
Clean the bag with mild soap and a soft brush every few months. Skip the washing machine, since the spin cycle can stress your stitches. Air dry the pack out of direct sunlight to protect the fibers.
Store the backpack empty and upright in a dry place. Stuff it with a towel to hold its shape. A little care after the repair keeps your fix strong for years to come.
Common Mistakes To Avoid During Repair
Many people rush the job and pay for it later. The first mistake is using thin patch fabric. Light cotton or paper backed iron on patches will fail under heavy loads. Always pick fabric as thick as the original bag.
Another mistake is skipping the cleaning step. Glue and tape will not bond to dirty or oily fabric. Take five minutes to wipe the area before you start. Loading the bag too soon is also a common error.
Sewing too close to the edge of the patch causes peeling. Keep your stitches at least half an inch from the patch edge. Avoid these slip ups and your repair will hold strong.
FAQs
How long does a backpack bottom repair last?
A sewn patch with heavy duty thread can last the full life of the bag. Glue or tape repairs usually last six months to two years, depending on use. Reinforced double patches often outlast the rest of the fabric.
Can I use duct tape to fix a ripped backpack bottom?
Duct tape works only as a short term emergency fix. It peels off after a few days and leaves sticky residue behind. Use Tenacious Tape or a sewn patch for any repair you want to last.
What is the strongest thread for sewing a backpack?
Bonded nylon thread in size 69 or 92 is the top choice for heavy duty packs. It resists abrasion, UV light, and moisture better than cotton or polyester thread. Most fabric stores carry it in black or natural colors.
Will my repair still be waterproof?
Sewing creates tiny holes that can let water in. Apply a thin coat of seam sealer or silicone over your stitches to keep the bag waterproof. Gear Aid Seam Grip is a popular choice for this final step.
Can I fix a ripped bottom without sewing at all?
Yes, you can use glue and a heavy duty patch for a no sew repair. Apply Shoe Goo or E6000 between the patch and the bag, then weigh it down for 24 hours. This works best for light to medium loads only.
How much does professional backpack repair cost?
Most gear shops charge between 20 and 60 dollars for a bottom patch repair. Brands like Osprey, Patagonia, and Granite Gear often repair their own bags for free or at low cost. Always ask for a quote before you ship the bag.

Hi, I’m Luna Beck — the founder and voice behind Urban Pack Vault. I’m passionate about helping people find bags that perfectly match their lifestyle. From backpacks to travel luggage, I research, review, and recommend so you never have to second-guess your next purchase.