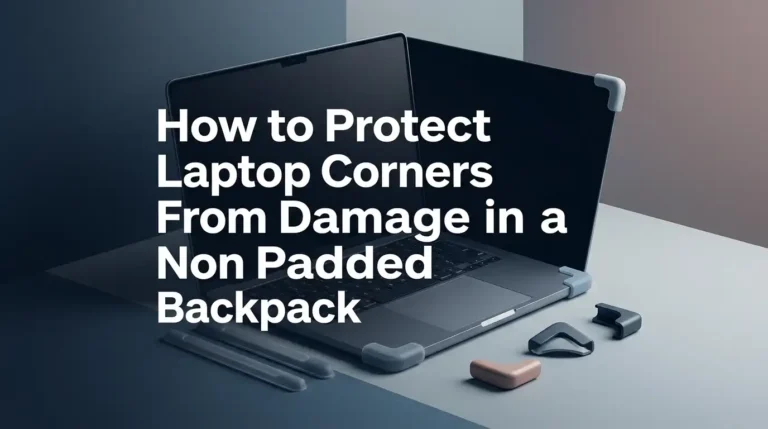
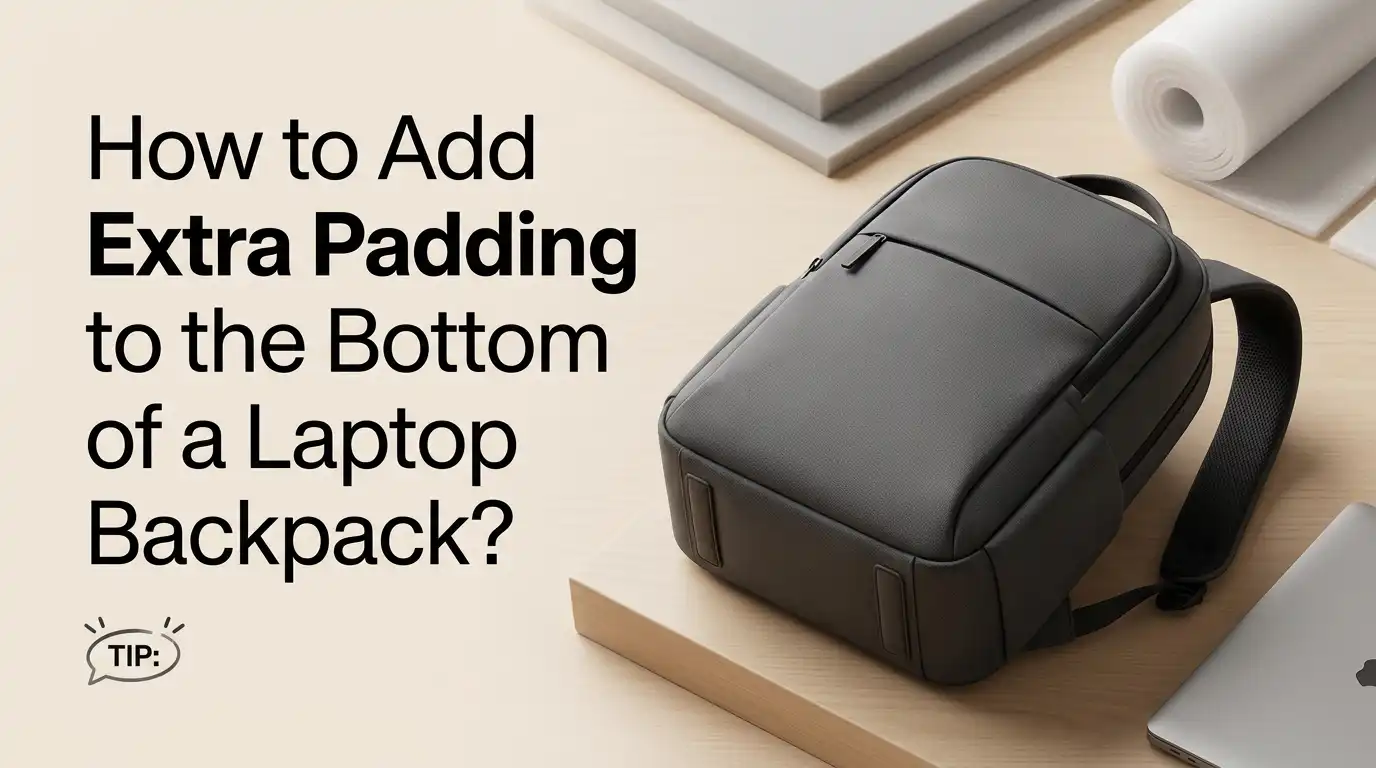
How to Add Extra Padding to the Bottom of a Laptop Backpack?
You just dropped your backpack a little too hard on the sidewalk. That awful clunking sound? That was your laptop hitting the bottom of the bag. Many laptop backpacks have a serious design flaw.
The laptop sleeve often ends right at the base of the bag with little or no cushion underneath. This means your expensive device sits directly against the hard bottom every single time you set your backpack down.
This is a problem that affects thousands of backpack owners. Some brands add a suspended sleeve or false bottom to solve this, but many affordable and even mid-range backpacks skip this feature entirely.
In a Nutshell
- Most laptop backpacks lack proper bottom padding. The laptop compartment in many bags ends at the base without a cushion or false bottom, leaving your device exposed to impact every time you set your bag down on a hard surface.
- Closed cell foam is the most popular and effective DIY fix. A simple piece of EVA or polyethylene foam, cut to size and placed at the bottom of your laptop compartment, creates a shock absorbing barrier that costs very little and takes minutes to install.
- You have multiple methods to choose from. Options include foam inserts, pool noodle sections, mouse pad layering, neoprene sheets, towel rolls, padded mailing envelopes, and sewn false bottoms. Each method has different levels of durability and protection.
- A separate padded laptop sleeve adds another layer of safety. Combining an internal foam insert at the bottom of your bag with a standalone padded sleeve gives your laptop double protection against drops and impacts.
- Material thickness matters more than material cost. You need at least 1 cm (roughly half an inch) of cushion between your laptop and the bottom of the bag. Thicker padding of about 2 to 2.5 cm offers the best drop protection for most users.
- The best fix depends on your backpack design. Some bags have a dedicated laptop pocket that is easy to pad. Others have an open main compartment where your laptop sits alongside books and gear. Check your bag’s layout before choosing a method.
Why Most Laptop Backpacks Need Extra Bottom Padding
Many backpack makers add padding to the sides and back panel of the laptop compartment but skip the bottom. This happens because bottom padding adds thickness and cost. It also reduces usable space inside the bag.
The result is a laptop that rests directly on the base of your backpack. Every time you set your bag on a hard floor, a sidewalk, or a bus seat, your laptop absorbs the impact. Over time, this repeated stress can damage the screen, the hard drive, or the outer casing.
Suspended laptop sleeves solve this problem by design. These sleeves keep the laptop floating above the bottom of the bag. But most budget and mid-range backpacks use a simple padded pocket that goes all the way down to the base. If your bag has this design, adding extra bottom padding is one of the smartest upgrades you can make.
Method 1: Cut a Closed Cell Foam Insert
This is the most popular and reliable method among backpack enthusiasts. Closed cell foam like EVA or polyethylene is lightweight, water resistant, and excellent at absorbing impact.
Start by measuring the inside bottom of your laptop compartment. Write down the length and width. Visit a craft store or an online retailer and pick up a sheet of closed cell foam that is at least 1 cm thick. Cut the foam to match your measurements using a sharp utility knife or scissors.
Slide the foam piece into the bottom of the laptop compartment. Trim the edges if needed for a snug fit. The foam should sit flat and not bunch up when you insert your laptop. A tight fit is important because it keeps the foam from shifting around.
Pros: Affordable, lightweight, water resistant, easy to cut and replace, provides excellent shock absorption.
Cons: May reduce a small amount of interior space, can shift slightly in very wide compartments, requires accurate measuring.
Method 2: Use a Camping Sit Pad or Sleeping Pad
Foam camping sit pads are compact, durable, and purpose built for cushioning. They are made from closed cell foam and provide excellent impact protection.
Buy an inexpensive foam sit pad from any outdoor or camping supply store. These pads are usually about 1 to 2 cm thick. Place the pad flat on a table and set your backpack on top of it with the bottom facing up. Trace the outline of the laptop compartment base onto the pad with a marker.
Cut along the traced line using scissors. Insert the trimmed pad into the bottom of your laptop sleeve. Test the fit by sliding your laptop in and out. The pad should feel firm and stable underneath your device.
Pros: Very durable, designed to handle outdoor conditions, retains shape well, easy to find in stores.
Cons: May be slightly thicker than needed for slim bags, limited color options, can be stiff if the foam is high density.
Method 3: Stack Old Mouse Pads at the Bottom
This is a clever hack that many people swear by. Old mouse pads are made of neoprene or rubber with a soft fabric top, which makes them surprisingly good at absorbing shock.
Collect two or three mouse pads. Place them flat and stack them together. Measure the bottom of your laptop compartment and cut the mouse pads to fit using scissors or a utility knife.
Layer the trimmed mouse pads at the base of the compartment. Two mouse pads stacked together give you roughly 6 to 8 mm of cushioning. Three pads give you closer to 1 cm. You can secure them together with a few drops of fabric glue if they tend to slide apart.
Pros: Free if you have old mouse pads, soft and grippy, easy to cut, provides decent cushion.
Cons: Thinner protection compared to dedicated foam, may absorb moisture over time, not the most durable long-term fix.
Method 4: Roll a Towel or T-Shirt as a Quick Fix
This is the fastest solution when you need protection right now. A rolled up towel or t-shirt creates an instant cushion at the bottom of your laptop compartment.
Fold a small hand towel or old t-shirt into a flat rectangle. Make sure it matches the width of the laptop compartment base. Lay the folded fabric flat at the bottom of the sleeve so it creates an even layer of padding. Adjust the number of folds until you have about 1 to 2 cm of thickness.
This method works best as a temporary fix. Fabric compresses over time and does not bounce back the way foam does. But it gets the job done in a pinch, especially when you realize your bag has zero bottom padding and you need to leave the house.
Pros: Instant, no cost, uses items you already have, easy to adjust thickness.
Cons: Compresses quickly, can shift inside the bag, absorbs moisture, not a long-term solution.
Method 5: Insert a Neoprene Sheet
Neoprene is the same material used in wetsuits and many professional laptop sleeves. It is soft, water resistant, and provides strong cushioning in a thin profile.
Buy a neoprene sheet in 3 to 5 mm thickness from a craft or fabric store. Measure the bottom of your laptop pocket and cut the neoprene to size. For extra protection, cut two pieces and stack them.
Place the neoprene layer flat at the base of the compartment. Neoprene has a natural grip to it, so it tends to stay in place without any adhesive. You can also wrap the neoprene around a thin piece of cardboard or plastic sheet to add rigidity along with the cushion.
Pros: Water resistant, thin yet effective, grippy surface stays in place, easy to cut and customize.
Cons: Can retain heat if doubled up, slightly more expensive than basic foam, may have a slight rubbery smell initially.
Method 6: Build a Padded False Bottom with Fabric and Foam
This method gives you the most professional result. A sewn false bottom mimics the design of high-end backpacks that include a built-in suspended floor for the laptop.
Measure the interior base of your laptop compartment. Cut a piece of stiff cardboard or thin plastic to match those dimensions. Cut a piece of closed cell foam or neoprene to the same size. Wrap both the foam and the stiff board together inside a piece of durable fabric like nylon or canvas.
Sew or glue the fabric edges to create a neat, enclosed pad. Place this padded panel at the bottom of your laptop pocket. For a permanent fix, you can have a seamstress sew a horizontal stitch line about 2.5 cm above the base of the compartment, trapping the padding inside and creating a true false bottom.
Pros: Most durable and professional looking solution, creates a true false bottom, can be customized to any bag.
Cons: Requires sewing skills or a trip to a tailor, takes more time and effort, slightly higher cost for materials.
Method 7: Use Padded Mailing Envelopes
Padded mailing envelopes filled with bubble wrap or paper cushioning make a surprisingly effective free insert. They are flat, lightweight, and already designed to absorb impact.
Collect two or three padded mailers that are roughly the size of your laptop compartment base. Trim them if needed. Stack them flat and slide them into the bottom of the sleeve.
The air pockets inside the envelopes provide cushion similar to bubble wrap. You can tape the envelopes together so they act as a single padded unit. Replace them every few months as the padding material inside compresses.
Pros: Free or very cheap, lightweight, easy to replace, surprisingly effective for light impacts.
Cons: Not water resistant, compresses over time, less durable than foam, may crinkle or make noise.
How Thick Should Your Bottom Padding Be
The ideal thickness depends on how you handle your backpack. If you regularly set your bag down gently, 1 cm of padding is usually enough. If you tend to drop your backpack or place it on hard surfaces frequently, aim for 2 to 2.5 cm.
Keep in mind that thicker padding takes up more space. A 2 cm foam insert at the bottom of a slim laptop compartment could make it harder to slide your laptop in and out. Test the thickness before committing to a permanent solution.
For most people, a single layer of closed cell foam between 1 and 1.5 cm thick offers the best balance of protection and practicality. You get solid impact absorption without losing too much room inside your bag.
Combining Bottom Padding with a Laptop Sleeve
The strongest protection comes from using two layers of defense: bottom padding inside the backpack and a separate padded laptop sleeve around the device itself.
A standalone neoprene or foam laptop sleeve wraps your device in cushioning on all sides. When you pair this with a foam insert at the bottom of the bag, your laptop has a double barrier against impacts. Even a hard drop is unlikely to damage your device with this setup.
This combination is especially useful for people who travel often, bike to work, or carry their backpack in crowded places. The extra layer takes up a bit more space, but the peace of mind is worth it.
What Materials to Avoid
Not every material works well as bottom padding. Avoid using soft open cell foam like pillow foam or upholstery foam. These materials absorb water easily and compress flat within days.
Stay away from loose bubble wrap. It pops under pressure, shifts constantly, and provides unreliable protection. Paper and cardboard alone are also poor choices. They offer rigidity but zero shock absorption, and they fall apart when exposed to moisture.
Thin fabric like a single layer of fleece or cotton offers almost no impact resistance. Use these materials only as wrapping around a stiffer core like foam or plastic, not as standalone padding.
How to Secure the Padding So It Does Not Move
Loose padding that shifts inside your bag is annoying and less effective. There are a few easy ways to keep your insert locked in place.
Cut the foam slightly larger than the compartment base so it fits snugly against the walls. This friction fit is usually enough to prevent movement. You can also apply a thin line of fabric glue or double-sided tape along the bottom of the pad.
Velcro strips are another great option. Stick one side of the Velcro to the bottom of the compartment and the other side to the foam insert. This lets you remove the padding for cleaning while keeping it secure during daily use.
Signs Your Backpack Needs More Bottom Padding
You might not realize your laptop is at risk until it is too late. Here are clear signs that your bag needs a padding upgrade.
You hear a thud when you set your backpack down. Your laptop screen has unexplained pressure marks or small scratches. The bottom of the laptop compartment feels thin when you press on it from outside. Your laptop shifts and slides inside the sleeve when you walk.
If you notice any of these signs, act now. A simple foam insert that costs a few dollars can save you from an expensive laptop repair or replacement.
Frequently Asked Questions
What is the best material for adding padding to the bottom of a laptop backpack?
Closed cell EVA foam is the top choice for most people. It is lightweight, water resistant, and provides strong shock absorption. A piece that is 1 to 1.5 cm thick gives excellent protection without adding bulk. Neoprene is a close second and works well for slimmer bags.
Can I add bottom padding without sewing anything?
Yes. Most methods in this guide require no sewing at all. You can cut a piece of foam to size and simply place it at the bottom of your laptop compartment. Double-sided tape, fabric glue, or Velcro strips can hold it in place if it tends to shift.
How often should I replace the bottom padding in my backpack?
Check your padding every three to six months. If the foam feels flat, cracked, or no longer springs back when you press it, replace it. Closed cell foam typically lasts one to two years with daily use. Towel or fabric inserts should be replaced much sooner.
Will adding bottom padding make my backpack too heavy?
No. A single piece of closed cell foam thick enough to protect your laptop weighs very little, usually under 100 grams. Even stacked mouse pads or neoprene sheets add minimal weight. The added protection far outweighs the tiny increase in weight.
Is a padded laptop sleeve enough, or do I still need bottom padding?
A padded sleeve protects your laptop on all sides, but the bottom of your backpack still absorbs direct impact when you set the bag down. Combining a sleeve with bottom padding gives you the strongest protection. Each layer absorbs a portion of the impact force.
Can a seamstress add a permanent false bottom to my backpack?
Yes. A skilled seamstress can sew a strip of foam into the bottom of your laptop compartment and stitch a horizontal line above it to create a permanent false bottom. This is the most professional and durable fix. It typically costs a small fee and takes less than an hour.

Hi, I’m Luna Beck — the founder and voice behind Urban Pack Vault. I’m passionate about helping people find bags that perfectly match their lifestyle. From backpacks to travel luggage, I research, review, and recommend so you never have to second-guess your next purchase.