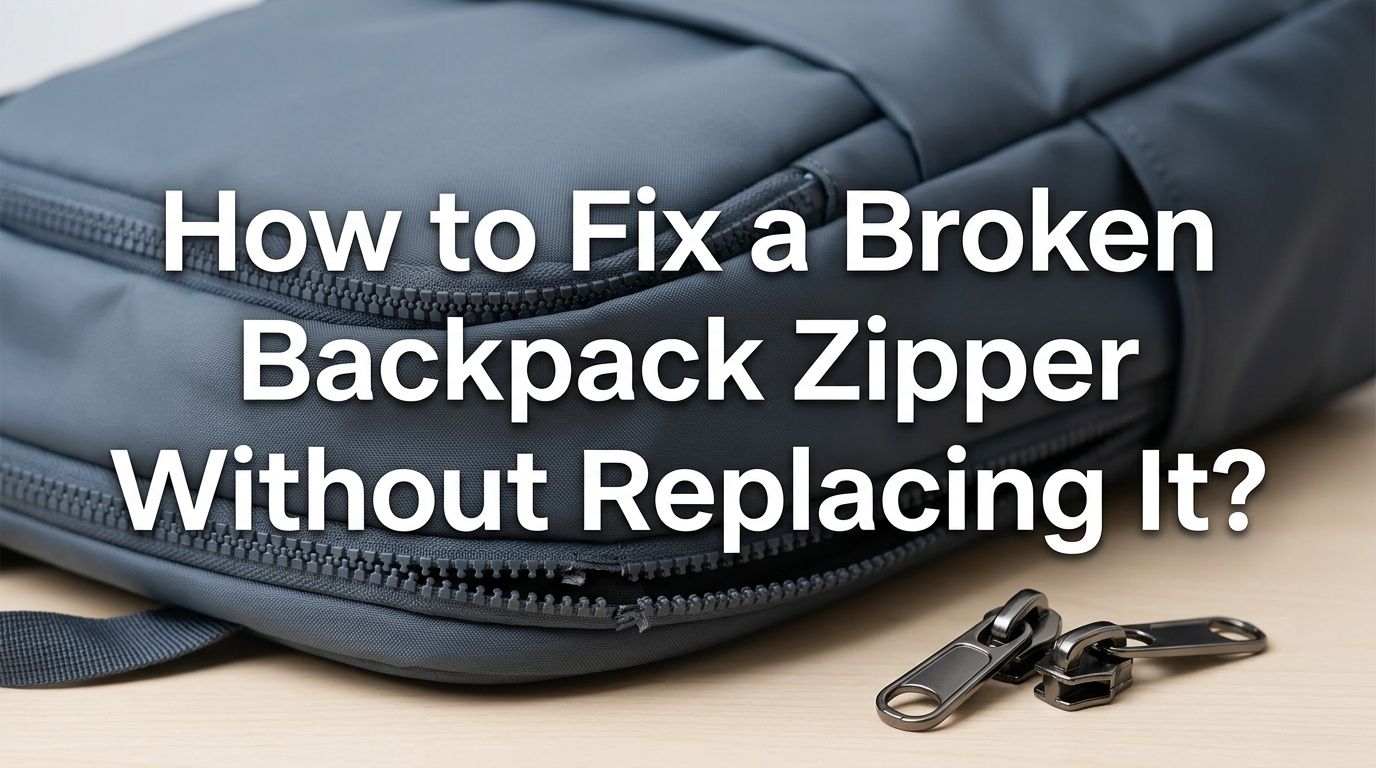
How to Fix a Broken Backpack Zipper Without Replacing It?
A broken backpack zipper can ruin your entire day. You’re rushing out the door, and suddenly your bag won’t close.
Your books, laptop, or travel gear sit exposed and unprotected. Most people assume the backpack is done for. They toss it in the trash and buy a new one.
But here’s the truth: most broken backpack zippers can be fixed at home in just a few minutes. You don’t need a sewing machine. You don’t need professional help. And in many cases, you don’t even need to replace the zipper itself.
In a Nutshell
- A stuck zipper is usually caused by dirt, debris, or fabric caught in the teeth. Lubricating the teeth with a graphite pencil, bar soap, or lip balm will free the slider in seconds.
- A zipper that splits open behind the slider means the slider is worn or loose. You can tighten it back into shape using a pair of needle nose pliers. Apply gentle, even pressure to both sides of the slider until it grips the teeth again.
- Misaligned zipper teeth can be straightened by hand or with pliers. Metal teeth respond well to careful bending, while plastic teeth can sometimes be pressed back into position with your fingers.
- A missing pull tab does not mean the zipper is broken. You can attach a paperclip, key ring, or small piece of cord as a temporary or even permanent replacement pull.
- Regular cleaning and occasional lubrication will prevent most zipper problems before they start. An old toothbrush and a graphite pencil are all you need to keep your backpack zippers running smoothly for years.
- If the zipper teeth are missing or severely damaged in one section, sewing a new stop above the damaged area can extend the life of the zipper without a full replacement.
Understand Why Your Backpack Zipper Broke
Before you grab your tools, it helps to understand what went wrong. Zipper failures fall into a few common categories, and each one has a different fix. Identifying the exact problem saves you time and effort.
The most frequent issue is a stuck zipper. This happens when fabric, thread, or grit gets trapped between the teeth and the slider. The slider jams in place and refuses to move in either direction. Forcing it usually makes things worse.
The second most common problem is a split zipper. The slider moves along the track, but the teeth separate behind it instead of locking together. This typically means the slider has worn out or become too loose to press the teeth into alignment. It’s frustrating, but it’s also one of the easiest problems to fix.
A third issue involves misaligned or bent teeth. Individual teeth stick out at odd angles and prevent the slider from passing over them smoothly. This often results from rough handling or overstuffing the backpack.
Finally, you might deal with a missing or broken pull tab. The slider itself still works, but you have no way to grip it and move it along the track. This is the simplest fix of all. Once you know which category your problem falls into, you can jump straight to the right solution below.
Gather the Basic Tools You Need
You don’t need a workshop full of equipment. Most backpack zipper repairs require only a few simple items, and you likely already have them at home. Gathering everything before you start makes the repair process smooth and quick.
The most useful tool for zipper repair is a pair of needle nose pliers. These give you a precise grip on the slider and allow you to apply controlled pressure. They work for tightening loose sliders, bending teeth back into place, and removing metal stops.
A graphite pencil serves as an excellent dry lubricant. Rubbing the pencil tip along the zipper teeth reduces friction and frees stuck sliders. Bar soap, lip balm, and candle wax also work well as lubricants.
Keep a pair of tweezers nearby. They are perfect for pulling out tiny bits of fabric or thread caught in the zipper teeth. A small sewing kit with a needle and strong thread (or dental floss) can help you sew new zipper stops or reinforce weak spots.
You may also want a paperclip or key ring on hand for replacing a broken pull tab. Some people find a fork helpful for re threading a slider onto separated zipper teeth. With these basic supplies ready, you can handle almost any zipper problem your backpack throws at you.
Fix a Stuck Zipper With Lubrication
A stuck zipper is the most common backpack zipper complaint. The slider simply refuses to budge. The fix is almost always lubrication. Something is creating friction between the teeth and the slider, and adding a lubricant eliminates that friction instantly.
Start by examining the stuck area closely. Look for fabric, thread, or dirt trapped between the teeth. If you see something caught in there, use tweezers to gently pull it out. Do not yank the slider forcefully, as this can bend the teeth or damage the slider.
If nothing is visibly stuck, grab a graphite pencil. Rub the pencil tip firmly along both sides of the zipper teeth in the stuck area. Graphite acts as a dry lubricant that reduces friction without staining the fabric. After applying the graphite, gently wiggle the slider back and forth until it moves freely.
Bar soap, lip balm, and candle wax are also effective lubricants. Rub a small amount directly onto the teeth and work the slider slowly. These options are especially useful when you’re away from home and need a quick fix.
Pros: This method is fast, free, and works on both metal and plastic zippers. It requires no tools and causes no damage.
Cons: It only addresses friction related problems. If the slider is worn or the teeth are bent, lubrication alone won’t solve the issue. You may need to reapply the lubricant over time as it wears off.
Tighten a Loose Slider With Pliers
If your backpack zipper splits open behind the slider as you zip it up, the slider is almost certainly too loose. Over time, the two plates of the slider spread apart slightly. They no longer press the teeth together tightly enough to interlock them. This is one of the most satisfying fixes because it takes about 30 seconds.
Position the slider at the bottom of the zipper track where the bag is fully open. Take your needle nose pliers and gently squeeze the top and bottom plates of the slider together. Apply light, even pressure. Do not squeeze too hard on the first try. Over tightening will make the slider too tight to move at all.
After a gentle squeeze, test the zipper by slowly pulling the slider up. If the teeth still separate behind it, squeeze the slider a tiny bit more. Repeat this process until the teeth stay interlocked after the slider passes over them.
This technique works best on metal sliders. Plastic sliders can crack under pressure, so be extra cautious with those. If you have a plastic slider, apply only very light pressure and check frequently.
Pros: This fix is extremely quick and effective. It addresses the root cause of splitting zippers and requires only pliers. Most people can do it on their first attempt.
Cons: There is a risk of over tightening, which makes the slider too stiff. Plastic sliders may crack. If the slider is severely worn or deformed, tightening might not hold for long, and you may need a new slider.
Realign Bent or Misaligned Zipper Teeth
Bent zipper teeth are a frequent problem on backpacks that get stuffed too full or handled roughly. Even one or two bent teeth can prevent the slider from moving past that spot. The zipper jams, splits, or catches every time you try to zip it.
For metal zipper teeth, use your needle nose pliers. Grip the bent tooth gently and bend it back into alignment with the rest of the row. Work slowly and check your progress after each small adjustment. The goal is to make each tooth sit at the same height and angle as its neighbors.
For plastic zipper teeth, use your fingers instead of pliers. Plastic teeth are more fragile and can snap if you apply too much force with a tool. Press the tooth gently back into its correct position. If a plastic tooth is severely bent, applying a small amount of heat from a hairdryer can soften it enough to reshape.
After straightening the teeth, run the slider slowly over the repaired section. If it catches again, look closely for additional teeth that might still be slightly out of place. Sometimes fixing one tooth reveals a second one that also needs attention.
Pros: This fix directly solves the problem and restores full zipper function. It works well on metal zippers and costs nothing.
Cons: Plastic teeth are prone to breaking during this process. Teeth that have been bent back and forth multiple times weaken over time. This method requires patience and a steady hand.
Rethread a Zipper That Came Off One Side
Sometimes the zipper slider comes completely off one side of the track. The teeth on one side are still inside the slider, but the other side is free and flapping. This looks bad but is usually fixable without replacing anything.
Start by moving the slider down to the very bottom of the zipper. If there is a metal or plastic stop at the bottom preventing the slider from coming off, you may need to remove it with pliers or carefully cut a few teeth to create an opening.
Once the stop is removed, slide the zipper pull completely off the track. Now, feed both rows of teeth back into the slider at the same time, starting from the bottom. Use a fork to help guide the teeth into the slider if your fingers struggle with the small parts. The tines of the fork hold the teeth in line while you push the slider over them.
Once the slider is back on both tracks, zip it up slowly to test the alignment. If everything locks together properly, sew a new stop at the bottom using a few tight stitches with strong thread or dental floss. This prevents the slider from coming off again in the future.
Pros: This method saves the entire zipper and avoids replacement. It works on both metal and plastic zippers. A fork makes the process much easier.
Cons: Removing the bottom stop can weaken the zipper’s structure. Sewing a new stop requires basic sewing skills. The fix may not hold if the teeth at the bottom are damaged.
Replace a Broken or Missing Pull Tab
A missing pull tab does not mean your zipper is broken. The slider mechanism itself is probably still working fine. You just need something to grip so you can move it up and down.
The quickest fix is a paperclip. Open the paperclip slightly and thread one end through the small hole on the slider where the original pull tab was attached. Bend the paperclip back into a closed loop. This gives you a functional pull that you can grip easily.
A small key ring works even better for a long term solution. Thread the ring through the hole in the slider. The ring provides a solid, durable loop that is easy to grab, even with gloves on. Many outdoor gear users prefer key rings because they are sturdy and never fall off.
For a more stylish option, use a short length of paracord or ribbon. Thread it through the hole and tie a secure knot. This creates a soft pull tab that is comfortable to grip and adds a personal touch to your backpack.
Pros: All of these options are cheap, fast, and effective. They require no special skills. A key ring or paracord pull can last as long as the backpack itself.
Cons: A paperclip may snag on fabric or poke you. Bulky replacements might look out of place. None of these fix a slider that is actually damaged internally.
Fix a Zipper That Keeps Sliding Down on Its Own
Few things are more annoying than a backpack zipper that won’t stay closed. You zip it up, and within minutes it slides back down on its own. This usually means the locking mechanism inside the slider has worn out.
One effective quick fix is hairspray. Spray a light coating of hairspray directly onto the zipper teeth after zipping the bag closed. The hairspray creates a thin, slightly sticky layer that adds friction and holds the slider in place. This wears off after a while, so you will need to reapply it periodically.
Another option is to loop a key ring through the slider pull and hook it over a nearby button or strap. This physically prevents the slider from moving down. Many backpacks have a small loop or attachment point near the top of the zipper that works perfectly for this trick.
If you have a rubber band, thread it through the pull tab hole and stretch it over a button or hook. The tension from the rubber band keeps the zipper locked in the closed position.
For a more permanent solution, apply a tiny drop of clear nail polish to the zipper teeth right above and below where you want the slider to stay. Let it dry completely. This creates small bumps of friction that prevent unwanted movement.
Pros: These methods are simple and use items you already own. Hairspray and nail polish work surprisingly well for keeping sliders in place.
Cons: Hairspray wears off and needs reapplication. Nail polish can flake over time. The key ring trick only works if your backpack has a button or loop to hook onto. None of these methods fix the internal locking mechanism.
Handle Missing Zipper Teeth
Missing zipper teeth present one of the trickier problems. If teeth are gone, the slider cannot interlock the two sides of the zipper at that point. However, you can still salvage the zipper if only a few teeth are missing near the top or bottom of the track.
If the missing teeth are near the bottom of the zipper, move the slider below the gap and sew a tight cluster of stitches across the zipper tape right above the damaged area. This creates a new stop point. The slider will no longer pass over the missing section, and the rest of the zipper will function normally. You lose a small amount of zipper length, but the bag still closes.
If the missing teeth are near the top, you can do the same thing in reverse. Sew a new stop just below the damaged section. The slider will stop before reaching the gap.
For gaps in the middle of the zipper, the fix is harder. You can try sewing the zipper tape closed at that specific spot using a strong thread or dental floss. This holds the two sides together at the gap while allowing the rest of the zipper to open and close normally.
Pros: Sewing a new stop point is a permanent and effective fix. It extends the usable life of the zipper significantly. It works on both metal and plastic zippers.
Cons: You lose zipper length. Gaps in the middle are difficult to fix neatly. The backpack will not open as wide as it originally did. This requires basic sewing ability.
Quick Fixes When You Have No Tools Available
Sometimes your zipper breaks while you are on the go with nothing in your pockets. You can still make temporary repairs using items found in almost any environment.
If the zipper is stuck, look for something waxy or slippery. A candle, crayon, or even the waxy coating on a coffee cup can serve as a makeshift lubricant. Rub it along the teeth and gently work the slider free.
If the slider came off the track, try using a fork from a cafeteria or restaurant. Slide the fork tines under the zipper teeth to hold them straight while you push the slider back on. This technique takes a bit of practice but works surprisingly well.
For a zipper that won’t stay closed, a safety pin is your best friend. Pin the zipper tape together above the slider to prevent it from opening. You can also use a binder clip from a school bag to hold the zipper in place.
If the pull tab broke off, twist a piece of wire, a bread tie, or even a bobby pin through the slider hole. Any small, stiff item that fits through the opening will give you enough grip to operate the zipper.
Pros: These fixes use items that are easy to find almost anywhere. They require no special skills. They can get you through the day until you can make a proper repair at home.
Cons: All of these are temporary solutions. They may not hold up under heavy use. They don’t address the root cause of the zipper failure.
Prevent Your Backpack Zipper From Breaking Again
Fixing a zipper is good. Preventing it from breaking in the first place is better. A few simple habits will keep your backpack zippers running smoothly for years.
Clean your zippers regularly. Use an old toothbrush to gently scrub the teeth and remove dust, lint, and grit. Dirt particles act like sandpaper and wear down the slider and teeth over time. A quick brushing once a month makes a real difference.
Lubricate the teeth occasionally. Run a graphite pencil along both sides of the zipper teeth every few weeks. This keeps the slider gliding smoothly and reduces wear. Candle wax and beeswax also work well. Avoid liquid lubricants like cooking oil, as they can stain fabric and attract more dirt.
Do not overstuff your backpack. When a bag is packed too full, the zipper is under constant strain. The teeth pull apart, the slider wears faster, and the fabric around the zipper can tear. Leave a little room so the zipper closes without force.
Zip and unzip gently. Yanking the slider quickly or at an angle puts stress on the teeth and slider. Pull the slider straight along the track at a steady, moderate speed. Hold the fabric taut with your other hand to prevent it from getting caught.
Pros: Prevention costs nothing and takes very little time. These habits extend the life of every zipper on every bag you own.
Cons: Even with perfect care, zippers will eventually wear out. Prevention reduces problems but cannot eliminate them entirely.
Know When to Seek Professional Help
Sometimes a zipper is too far gone for a DIY fix. Recognizing that point saves you from wasting hours on a repair that won’t hold. Certain types of damage simply require professional tools and expertise.
If large sections of teeth are missing from the middle of the zipper, home repairs will not restore full function. A tailor or cobbler can remove the old zipper and sew in a new one for a reasonable cost. Most shoe repair shops also handle bag repairs and typically charge between $15 and $40 depending on the zipper type and bag construction.
If the zipper tape itself is torn or frayed, the teeth have nothing to anchor to. No amount of slider tightening or tooth realignment will help. The tape needs to be replaced, which requires a sewing machine and some skill.
If you have already tried tightening the slider multiple times and it keeps loosening, the metal may be fatigued. A new slider is inexpensive and a professional can install one in minutes. This is often cheaper and faster than buying a new backpack.
Before giving up on your backpack entirely, check if the manufacturer offers a warranty or repair service. Many quality backpack brands provide free or low cost repairs for zipper failures. A quick email or phone call could save you the price of a new bag.
Pros: Professional repairs are reliable and long lasting. They can handle problems that DIY methods cannot. Many repair shops are affordable.
Cons: Professional repairs take time and cost money. You may need to be without your backpack for several days. Not all areas have convenient repair shops nearby.
FAQs
Can I fix a broken backpack zipper without any tools at all?
Yes, you can fix many zipper problems without tools. A stuck zipper can be freed using a graphite pencil, bar soap, lip balm, or candle wax as a lubricant. A broken pull tab can be replaced with a paperclip, key ring, or bread tie. For more involved repairs like tightening a loose slider, you will need pliers.
Why does my backpack zipper keep splitting open after I close it?
A zipper that splits open behind the slider usually has a worn or loose slider. The two plates of the slider have spread apart and no longer press the teeth tightly enough to interlock. Use needle nose pliers to gently squeeze the top and bottom plates of the slider together. Test the zipper after each small squeeze to avoid over tightening.
What is the best lubricant for a stuck backpack zipper?
A graphite pencil is the best option for most backpack zippers. It works as a dry lubricant, reduces friction effectively, and does not stain fabric. Bar soap, lip balm, candle wax, and beeswax are also good choices. Avoid liquid oils like cooking oil or WD 40 on fabric backpacks because they can cause stains and attract dirt.
How do I fix a backpack zipper with missing teeth?
If only a few teeth are missing near the top or bottom, sew a new stop point using strong thread or dental floss just above or below the gap. The slider will stop before reaching the damaged section, and the rest of the zipper will still work. If teeth are missing from the middle, sew the zipper tape closed at that spot to hold the two sides together.
How long do DIY zipper repairs usually last?
The durability depends on the type of repair. Tightening a loose slider with pliers can last months or even years if done correctly. Sewing a new stop point is a permanent fix. Lubricating a stuck zipper may need to be repeated every few weeks. Temporary fixes like paperclip pull tabs and hairspray should be replaced with more permanent solutions as soon as possible.
Should I replace my backpack if the zipper is completely broken?
Not necessarily. A tailor or cobbler can replace a zipper for a fraction of the cost of a new backpack. Many backpack manufacturers also offer warranty repairs. Before discarding your bag, check if the brand provides repair services. A $20 zipper replacement can extend the life of a bag for several more years.

Hi, I’m Luna Beck — the founder and voice behind Urban Pack Vault. I’m passionate about helping people find bags that perfectly match their lifestyle. From backpacks to travel luggage, I research, review, and recommend so you never have to second-guess your next purchase.