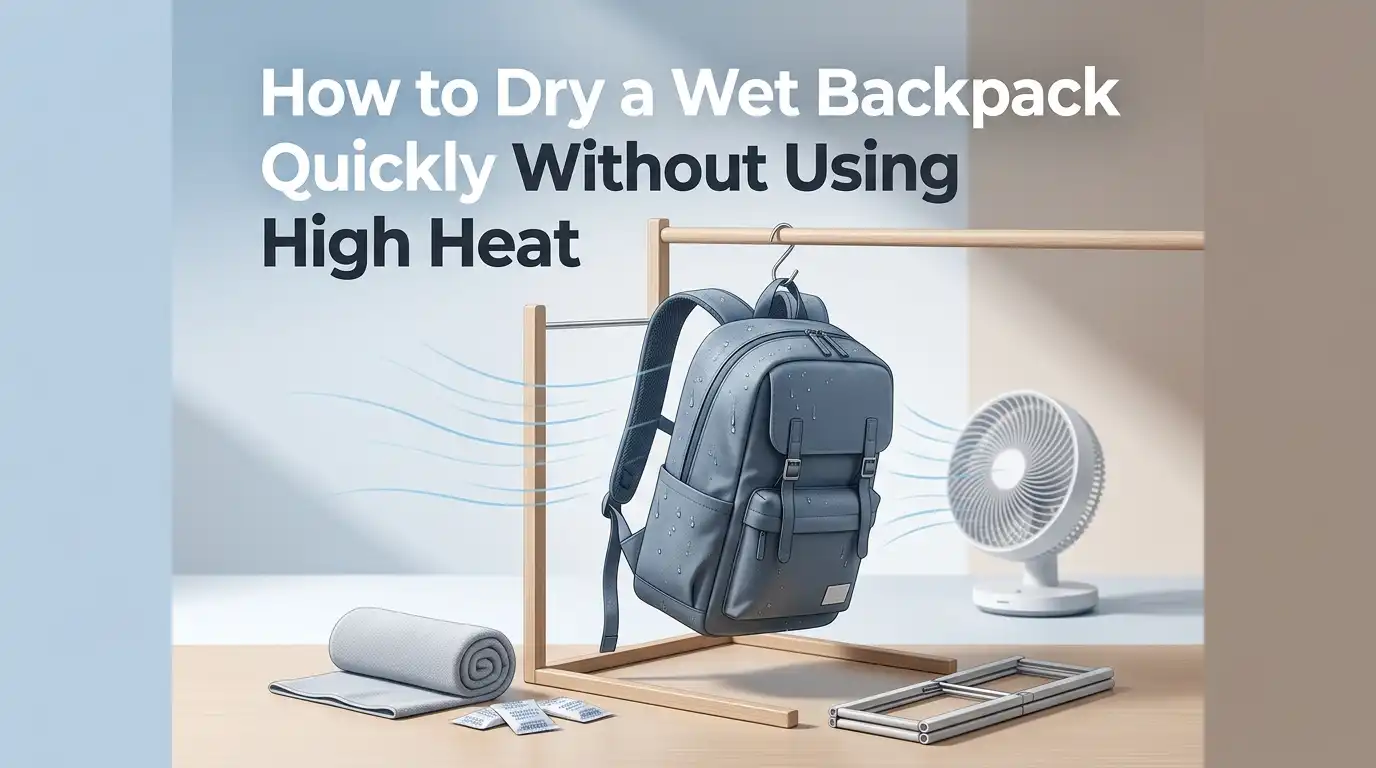
How to Dry a Wet Backpack Quickly Without Using High Heat?
A wet backpack can feel like a small disaster. The fabric feels cold, the padding holds water, and the smell can turn bad fast. If you rush and use strong heat, you can damage coatings, foam, straps, and shape. That is why a smarter method works better.
The good news is simple. You can dry a wet backpack quickly with airflow, absorbent towels, smart positioning, and patience in the right spots.
This guide gives you clear steps that are easy to follow at home, after school, after travel, or after a rainy hike. You will learn what to do first, what to avoid, and how to stop mildew before it starts.
Key Takeaways
- Empty the backpack right away. Water hides in pockets, seams, and padded areas. If you leave books, clothes, or small items inside, the drying process slows down and odor can build up.
- Remove surface water before you start air drying. A clean towel can pull out a lot of moisture in a few minutes. This small step saves time and helps the rest of the bag dry more evenly.
- Airflow matters more than heat. A fan, an open room, or a dry indoor space can move moisture out of the fabric and padding. Steady airflow is safer than blasting the bag with hot air.
- Position the backpack so water can escape. Open every zipper, spread the compartments, and hang the bag so gravity can help. An upside down position often dries hidden corners faster than laying the bag flat.
- Pay extra attention to padded parts. Shoulder straps, the back panel, and the base hold water longer than thin fabric. If these areas stay damp, the whole backpack can smell musty later.
- Drying fully is the real goal. The outside may feel dry while the inside still feels cool and damp. Always check the lining, seams, and padding before use or storage. A backpack may need several hours, and some thicker bags may need a full day in a good drying spot.
Start by Emptying the Backpack Fully
The first step is simple, but it changes everything. Take out every item, even small things hiding in side pockets, front zippers, and inner sleeves. A backpack dries much faster when air can reach every part.
Shake the bag upside down over a sink, towel, or floor that can handle water. If the bag has crumbs, dirt, or wet paper inside, remove that mess now. A clean empty bag dries faster and smells better later.
Loosen the shoulder straps and open the chest strap or waist strap if your bag has them. If there is a removable frame, insert, or organizer, take it out and dry it on its own. Separated parts dry better than packed parts.
This method has one clear benefit. It exposes hidden moisture before it turns into odor. The only downside is that it takes a few extra minutes. Still, those minutes can save hours later.
Press Out Surface Water With Dry Towels
Before you hang the backpack, blot it with a dry towel. Press the towel into the outer fabric, the base, the straps, and the back panel. Do not rub hard. Press and lift so the towel absorbs the water.
If the inside is very wet, use a second towel there too. Focus on seams and corners where water collects. This is one of the fastest safe ways to remove moisture without stressing the fabric.
Pros: This method is fast, safe, cheap, and gentle. It also helps prevent drips all over your room.
Cons: It does not remove deep moisture from thick padding, so you still need airflow after this step.
Think of towel drying as the first speed boost. It does not finish the job, but it cuts down the amount of water the backpack must release into the air. That makes every next step work better.
Open Every Pocket and Pull Hidden Areas Apart
A backpack often looks simple from the outside, but water loves hidden spaces. Open the main compartment, laptop sleeve, small front pocket, bottle pockets, and every zip section. If the bag can stand open, spread it wide.
Pull the fabric layers apart where you can. Lift the pocket flaps. Separate the shoulder straps from the body of the bag. If the lining sticks to the outer shell, create a small gap so air can move through.
Closed pockets trap damp air. That is why a backpack can seem dry on the outside and still feel wet the next day. Open structure means faster drying.
Pros: This method costs nothing and speeds up all other drying steps.
Cons: Some bags fold back on themselves, so you may need clips, hangers, or rolled towels to keep them open.
Do this early, not later. The sooner air reaches the hidden fabric, the lower the chance of stale smell and mildew.
Hang the Backpack Upside Down First
Once you remove the surface water, hang the backpack upside down. This helps trapped water move out through gravity. It also stops moisture from settling at the bottom seam, which is often the slowest part to dry.
Use a sturdy hanger, shower rod, laundry rack, or hook. Keep the zippers open while it hangs. If the bag is dripping, place a towel under it for the first stage. Gravity can do quiet work for you while the air starts drying the fabric.
Pros: This method is easy and very effective for wet seams and pocket corners. It also keeps the backpack off the floor.
Cons: Some larger bags may lose shape if they hang from one weak point, so support them well.
Upside down drying works best in the first phase. Later, you can rotate the bag to a normal position so the straps and back panel get even airflow too.
Use a Fan to Move Air Through the Fabric
If you want faster drying without high heat, use a fan. Point the fan at the open backpack from a short distance. A steady stream of room temperature air helps moisture leave the fabric and padding much faster than still air.
Set the bag where both the inside and outside can catch airflow. If possible, turn the backpack halfway through so the fan reaches a new angle. Air movement matters more than hot air for safe drying.
Pros: A fan is fast, safe for most fabrics, and great for thick padded sections. It also helps reduce that damp smell.
Cons: It needs electricity and space. If the room is very humid, the fan helps less than it would in a dry room.
A fan is one of the best no heat tools you can use. Even a basic household fan can cut drying time in a big way when paired with open pockets and towel blotting.
Stuff Damp Sections With Dry Towels or Paper
If parts of the backpack feel soaked inside, place dry towels or plain paper inside the main compartment and deep pockets. This helps pull moisture out from the lining while the outside dries at the same time.
Do not pack the material too tight. You want absorbency and airflow together. Change the towels or paper once they feel damp. Fresh dry filling keeps the moisture moving out instead of letting it sit.
Pros: This method is very useful for laptop sleeves, padded bases, and deep front pockets. It is also easy to do with things already at home.
Cons: If you overstuff the bag, airflow drops. If you forget to replace damp towels, the method slows down.
Use this trick with care. It works best as a support method, not as the only method. Pair it with a fan, hanging, or a dry room for the best result.
Pick the Best Drying Spot Indoors or in Shade
Where you dry the backpack matters a lot. Choose a well ventilated indoor room, covered porch, or shaded outdoor area with moving air. Avoid strong direct sunlight for long periods, especially with technical fabrics or coated materials.
A dry room is better than a warm but humid bathroom. If the weather is nice, shade with breeze can work very well. The best spot is the one with clean airflow and low humidity.
Pros: Shade or indoor drying is gentle on fabric, color, and coatings. It lowers the risk of heat damage and shape loss.
Cons: If the space has poor airflow, drying can take longer.
Direct sun may look fast, but it is not always the best choice. A little morning light is usually fine, but long harsh exposure can fade fabric and wear down some materials over time. Gentle drying wins in the long run.
Use a Dehumidifier in a Small Room for Faster Results
If your home feels damp or the weather is rainy, a dehumidifier can help a lot. Put the backpack in a small room with the pockets open and let the machine pull moisture from the air. This gives the water in the bag somewhere to go.
You can combine this method with a fan for better results. The fan moves air through the backpack, and the dehumidifier dries the room. That combination can speed things up without any harsh heat.
Pros: Very effective in humid weather. It helps with odor control too because the room stays drier.
Cons: It takes power, and not every home has one. It also works best in a smaller closed space.
This method is a strong choice for thick school bags and travel packs. If your backpack usually takes too long to dry, this can make a big difference.
Give Extra Attention to Straps, Foam, and the Back Panel
The hardest parts to dry are usually the shoulder straps, the lower base, and the back panel. These areas hold foam or thick padding, so they keep water longer than thin fabric pockets.
Press these spots again with a dry towel after the first hour. Then place them directly in the path of the fan. If the straps are folded over each other, separate them. If the back panel is against a wall, move it away so air can reach both sides.
These thick sections decide whether the backpack is truly dry. Do not judge the bag by the front pocket alone. A bag that feels dry outside can still hide damp foam inside.
The benefit of focusing on these areas is simple. You reduce odor, mildew risk, and that cold damp feeling on your back later. The drawback is time. These parts need patience more than force.
Flip and Rotate the Backpack Every Hour or Two
A backpack rarely dries evenly in one position. One side may face the fan while another side stays cool and damp. That is why rotating the bag helps. Flip it, turn it, and change the angle every hour or two.
Move the main compartment toward the airflow first, then the straps, then the base. If the bag is hanging, switch from upside down to a normal hang once the dripping stage is over. Small position changes help trapped moisture escape.
Pros: This method is free and very effective. It also helps you check progress as you go.
Cons: It needs a little attention, so it is less convenient if you leave home for the whole day.
Think of rotation as a finishing tool. It helps the bag dry fully instead of drying only the easy surfaces. Full dryness matters much more than fast looking dryness.
Stop Odor and Mold Before They Start
A wet backpack can develop a musty smell fast, especially if it sat closed for hours. The best fix is fast action. Open it, remove moisture, and keep air moving. If the smell has already started, wipe the inside with a cloth and mild soap, then dry it fully again.
Do not store the bag until every section feels dry, including the seams and padding. If one area feels cool and slightly damp, keep drying. Mold starts where moisture stays trapped.
Pros: Quick drying and light cleaning stop bigger problems before they grow.
Cons: If mildew has already spread deep into the fabric, you may need a full cleaning session and longer drying time.
Your nose can help here. If the bag still smells damp, it is probably still damp somewhere. Trust that signal and keep the airflow going until the smell fades.
Know What to Avoid While Drying
Some fast fixes can cause bigger problems. Do not use a hot dryer. Do not press the backpack against a heater. Do not blast it with very hot air from close range. These shortcuts can weaken glue, coatings, foam, trims, and shape.
Avoid leaving the backpack in a closed car on a hot day. Avoid sealing it in a plastic bag while it is still damp. Also avoid folding it shut before the lining is dry. Too much heat and trapped moisture are both bad choices.
The good side of avoiding these mistakes is clear. Your backpack lasts longer and keeps its shape and finish. The bad side is that safe drying can take more time. That extra time is worth it.
A careful method protects the bag now and helps it survive many more rainy days.
Prevent the Next Soak and Make Future Drying Easier
The best drying plan starts before the next rain. Use internal packing habits that keep water from spreading. Put electronics and paper items in waterproof pouches or sealed bags. Keep a small towel in the backpack so you can blot moisture early.
After a wet trip, do not toss the bag in a corner. Open it the same day. Hang it, loosen the straps, and let air get in right away. Fast response makes drying easier every single time.
You can also use a rain cover or liner when bad weather is likely. These steps do not make the bag perfect, but they reduce how soaked it gets. Pros: Less water inside means less drying time and less odor later. Cons: Covers and liners add one more thing to remember.
Simple habits beat emergency fixes. A little prevention saves a lot of drying work later.
FAQs
How long does it take to dry a wet backpack?
It depends on the fabric, the padding, and the room. A light backpack in a dry room with a fan may dry in a few hours. A thick school bag or travel pack may need most of the day or even longer.
Can I use a hair dryer on low?
A cool setting is safer than a hot one, but steady room air from a fan is usually better. If you use a hair dryer, keep it on a cool setting and hold it far away so you do not stress the fabric.
Is sunlight okay for drying?
A little gentle light is usually fine, but long strong direct sun is not the best plan. Shade with airflow is a safer choice for color, coatings, and fabric life.
What if the backpack still smells damp after drying?
That usually means moisture is still trapped inside the padding or seams. Open the bag again, clean the inside lightly with mild soap if needed, and continue drying with airflow until the smell is gone.
Can I store the backpack if the outside feels dry?
No. Check the inside pockets, straps, back panel, and base first. If any part feels cool or damp, keep drying. Storage while damp is one of the fastest ways to get mildew and odor.

Hi, I’m Luna Beck — the founder and voice behind Urban Pack Vault. I’m passionate about helping people find bags that perfectly match their lifestyle. From backpacks to travel luggage, I research, review, and recommend so you never have to second-guess your next purchase.